Sunday, 20 October 2019

Live in the Moment - Dusty Attic Mood Board October

Hello lovelies

Can't believe we are in October already - this year is going crazy fast. The great thing about a new month - it means a new mood board challenge at Dusty Attic!

Are these colours beautiful, or what? Very warm and neutral colours, and somewhat calming .... I decided to use the tnature theme in the moodboard that inspired me to do my layout.  Here is my take on the colours for this month:
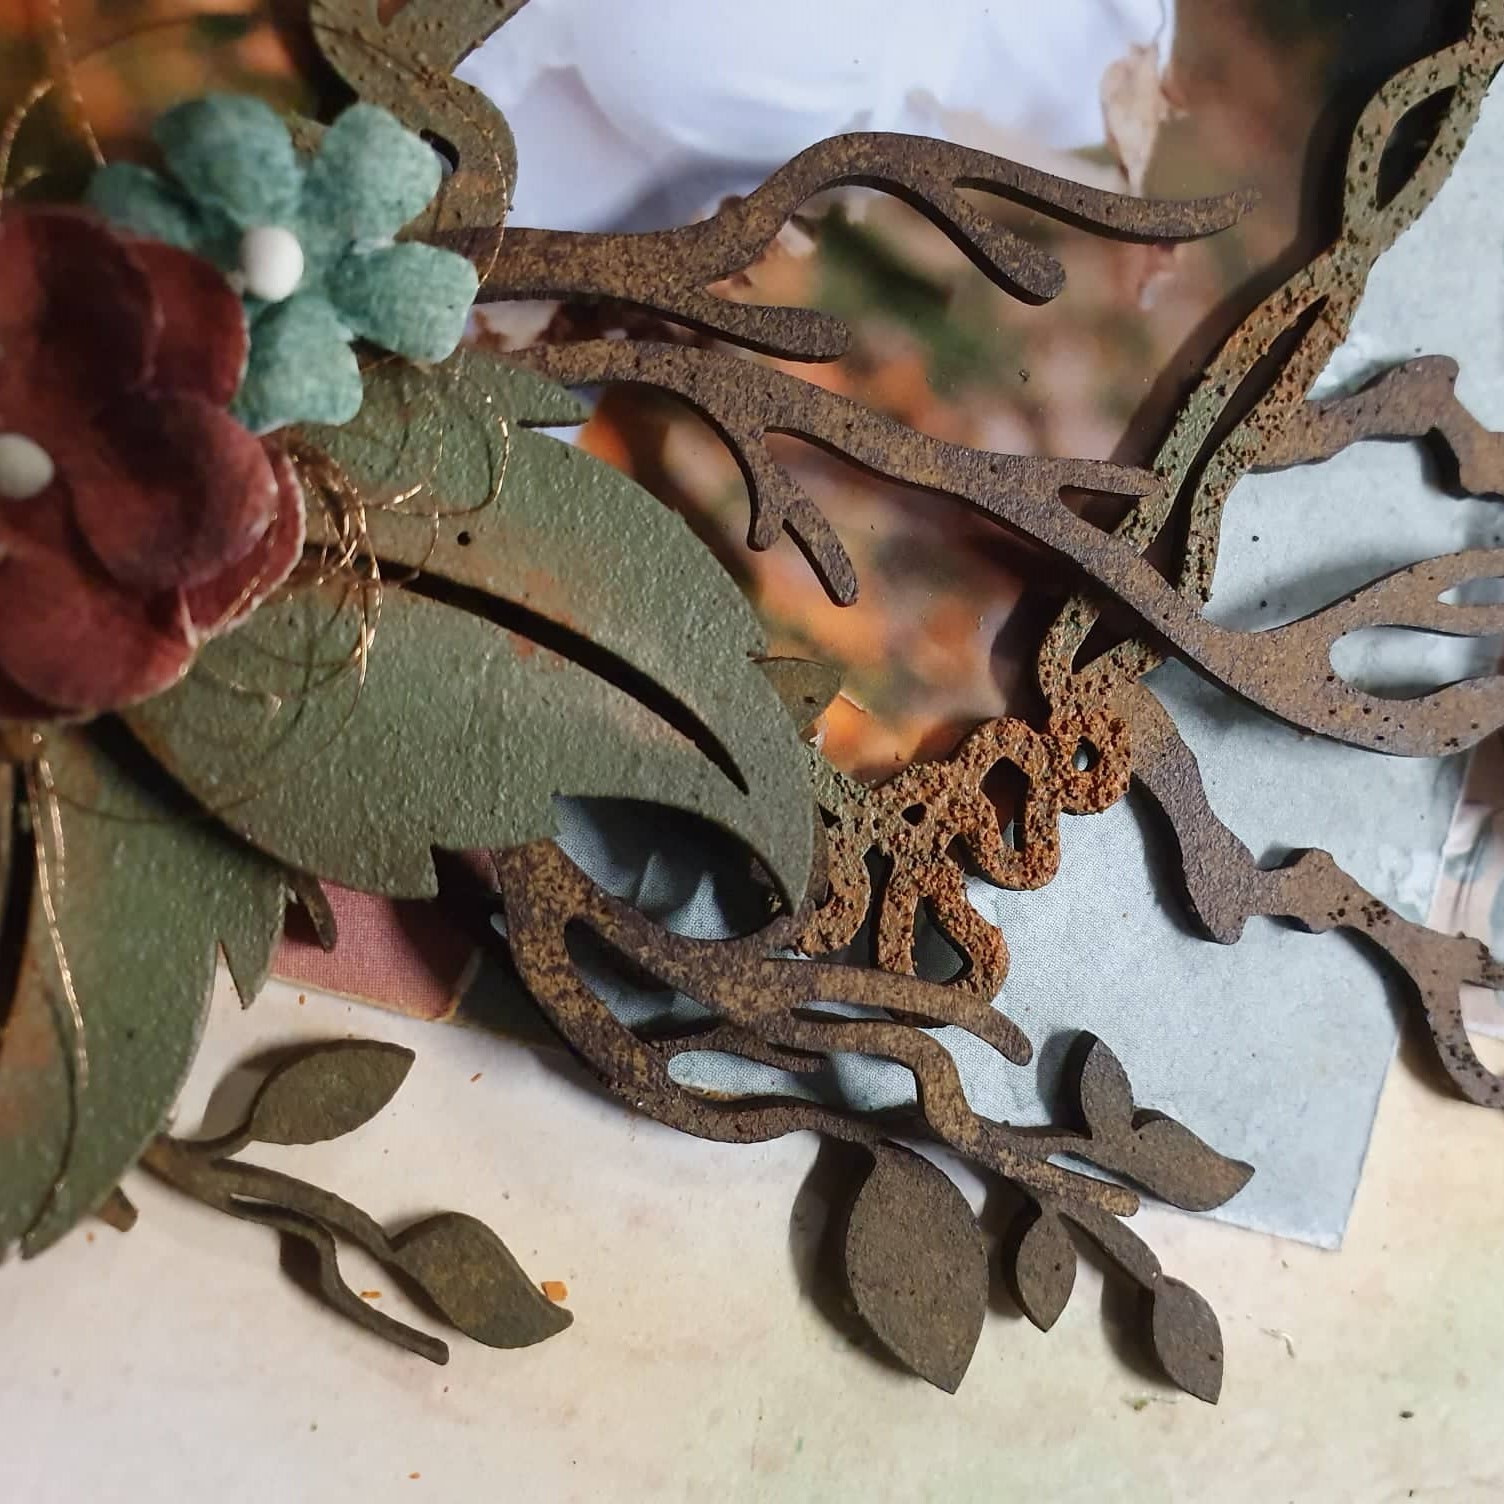
I have used two papers - one is a 49 and Market paper and the other is Prima.  I started with my frames first using a mixture of different colour paints - one I have is textured brown paint which has granules in it, which I dabbed on first. I then dabbed on some light brown paint, then some Dusty in Colour Forest and Dusty in Colour Sunburnt orange.
The title is painted with a dark green acrylic paint and the branches are coloured with a mixture of brown textured paste - this gives such a lovely texture to the chipboard and then dabbed with ochre colour paint.
The larger leaves were done in Dusty in Attic Forest green, I then lightly brushed some Dusty in Colour Gingernut on them, then added some Dusty in Colour Sunburnt Orange through the centre and the added these leaves with some Tim Holtz Walnut Ink. The smaller leaves were done with a lighter green and then accented with some darker green in the middle.
The photos and frame are adhered to the paper with foam tape to add some dimension. The branches are tucked in under the frame and then the 49 and Market flowers are added, along with a fussy cut squirrel
The title was added with foam tape
These are the Dusty Attic products used


DA0376
DA0508

DA1183
DA1184

Thanks for popping in to visit - have a wonderful week!

Michelle


Monday, 7 October 2019

Journey - 49 and Market

Hello 49 and Market fans!

I am really loving these new collections - Seaside and Shipwrecked - so much so I have created another project with these beautiful collections. I have created a 12x12 layout.

 I have started first with the Seaside Beachfront paper and cutting this down, and adhering to the reverse side of the Seaside - Seaside Cottage paper. I have cut the bar strips off the Seaside Cottage paper - using a second paper for the second strip which I have adhered to the cut edges of the Seaside Beachfront paper.
I then started layering pieces from the Laser Cut sheet from the Seaside mini collection. I will adhere a piece of foam tape to the top of each piece, and glue on the botton, and then add the layers doing the same - foam at the top and glue on the bottom and work my way up.
All the shells I have curled to give them some dimension before sticking them down. I have used some pieces from the "Never stop exploring" archival chipboard. These were coloured in Creative Expressions Gilding polish as well as acrylic paints.
I have also used some of the whispering bubbles to finish off, as well as adding some art stones (the knot at the bottom of the page is from the Island Paradise collection)
Products used:
https://www.49andmarket.com/product/6x6-archival-board-never-stop-exploring-white/
https://www.49andmarket.com/product/wishing-bubbles-crush/
https://www.49andmarket.com/product/seaside-12x12-mini-collection-pack/

 Happy crafting!


Thursday, 26 September 2019

Seaside mini Album - 49 and Market

Hello everyone!

I am so loving the latest 49 and Market ranges that have just been released - Seaside and Ship Wrecked. They are just stunning! I have created a mini album with both collections:
 Aren't these laser cuts just absolutely gorgeous? I have also included some layered embellishments among the laser cuts. These elements have been added on foam tape to created dimension, and then I finished off by adding some art stones. The paper is from the Seaside Mini Collection (12x12) cutting it to fit, and binding the album with cardstock.
49 and Market have a lovely album base and 6 x 8 papers especially created for you to make your own album - so all the hard work of making up a mini album has been done. Here are some more close-ups of some of the pages I have created:
The page on the right has been created using foam tape to lift all the elements, and then using the fence from the laser cuts - which have also been 3D'd with foam, as well as adding some 49 and Market flowers and other laser cuts to create the page
I have finished off adding some art stone and actual small shells.
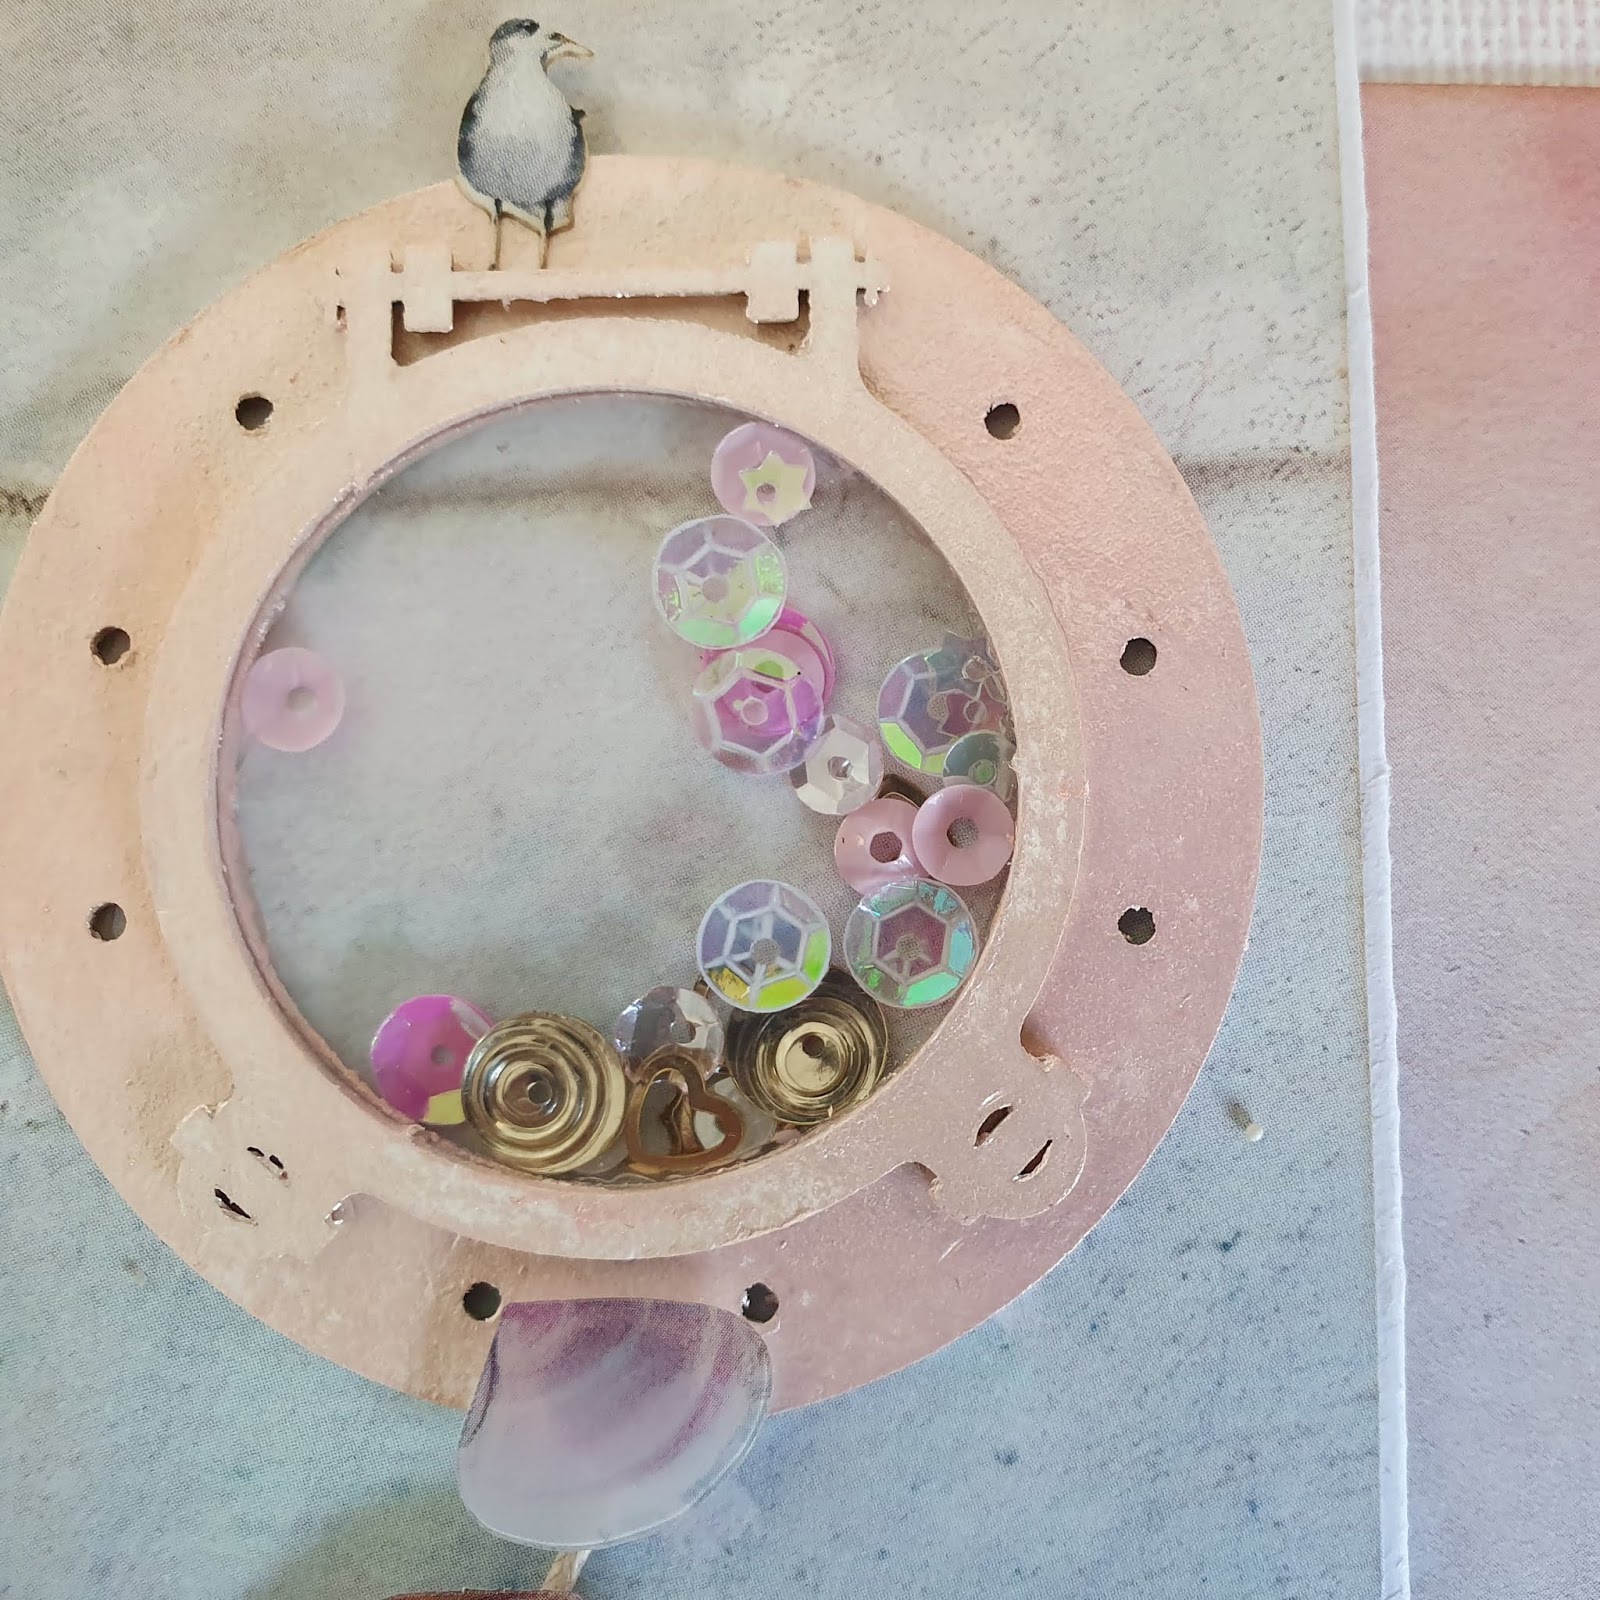
The page on the left has a pocket and the pocket page tucked in, and the port hole is from the Archival Chipboard "never stop exploring" - and I have created a shaker box. All the features on both pages are a mixture of the laser cuts and the layered embellishments.

I have used Creative Expressions Gilding polish to colour some of the chipboard, and some pages have real small shells. I have also curled some of the shells to create dimension when creating some of the layers.
Here is a walk through of photos in a video format for some of the other pages


Hope you have enjoyed this as much as I enjoyed putting this together!

Happy crafting!


Wednesday, 25 September 2019

You are my treasure - Dusty Attic

Hello Dusty Attic fans

So loving this time of the year - beautiful spring days here in New Zealand - and all the blossoms are out - everything is looking so pretty. Today I would like to showcase a layout I created for a class recently taught here in New Zealand for Creative Adventures Downunder using Dusty Attic chipboard. I created this double layout:
These frames on the 2nd page of this layout from the new release chipboard known as Frame Medley and I absolutely love these, and so here I have used them with some photos of my daughter. I love the versatility of these frames and the different shapes just finishes off a layout!
I have painted all the chipboard with Dusty in Colour Gingernut paint, and edged some of the frames with walnut ink. The smooth frames I have dry brushed with white paint, and then sanded these. I then stamped these with walnut ink using a script stamp, and edged the frames with walnut ink.
The frames will fit 2"x 3" photos. The title has also been painted with the same paint and also stamped with a script stamp.

The layout has been created with Mintay papers and 49 and Market flowers.
These are the products I have used:


Thank you for visiting, enjoy the rest of your week!

Thursday, 12 September 2019

Smile - Dusty Attic

Hello Dusty Attic fans

Today I have drawn the inspiration for my layout off the colours of the September moodboard
And here is my take on the moodboard with a photo of my daughter
I started first preparing my page with clear gesso, and then stencilled the paper with the Dusty Attic Burlap stencil. Once this was dry, I added some Dusty in Colour Cranberry paint watered down and also added Tim Holtz Dusty Concord ink also watered down through the textured paste. The dusty attic chipboard was all painted with Dusty in Colour Cranberry, Raisin, Sugar Plum and faded denim paint.
I painted the frame, added the photo and then mounted with foam tape, and then I added the wildflowers painted with faded denim before layering the flowers on top of these.
I then added some fussy cut flowers
The title was painted with Raisin and added
These are the products I have used:
Have a super day!


Saturday, 7 September 2019

Memories to last a life time

Hello lovely fans!

Today I would like to feature a layout I recently created for a class I taught here in New Zealand for Creative Adventures Downunder. I really enjoyed putting the layout together and it so wonderful to work with such awesome products both 49 and Market and dusty Attic and that really helps tremendously putting a layout together. And here is the layout:


I have used the 49 and Market Serendipitous Mini Collection, to create this layout. Cutting down the Misty Breeze paper and adhered to the After the Rain paper, and then added clear gesso. Once dried, I added some stencilling with texture paste. I then painted the mystic frame and the ornate pendant chippies with Dusty Attic Dusty in Colour fine silver paint.
I then cut the Mystic Frame in half and placed it in such a way under the photo that the flourishes were a feature on the outside of the photo.
I then started layering 49 and Market Country in Blooms Punch starting with my anchor flower about 1 inch from the bottom of the photo and building it up from there.
Included in the layering of the flowers, are all the gorgeous laser cut shapes from the laser sheet (all from the Serendipitous collection) - leaves, lantern, butterflies, cogs and flowers. The wings of the butterfly and the dragonfly have been covered with stickles.
I have also fussy cut the flowers and leaves from the left over piece of the 'Misty Breeze' - the piece with the flower is tucked under the photo and then 3D'd with another flower off the laser cut sheet. I have added the ornate jewel Dusty Attic chipboard between the flowers and added Dusty Attic pearls to the chain part of the ornate pendants.

I have then finished off adding some mini art stones to the flowers and randomly over the page. The title is from the bar code strip off the 'Misty Breeze' page. I have also added some ink splatters and ink blending from Tim Holtz Dusty Concord distress ink.
The photo is of my lovely daughter who was getting her own camera ready to take some shots and was captured just at the perfect moment.


Thank you for visiting!