Saturday, 24 October 2020

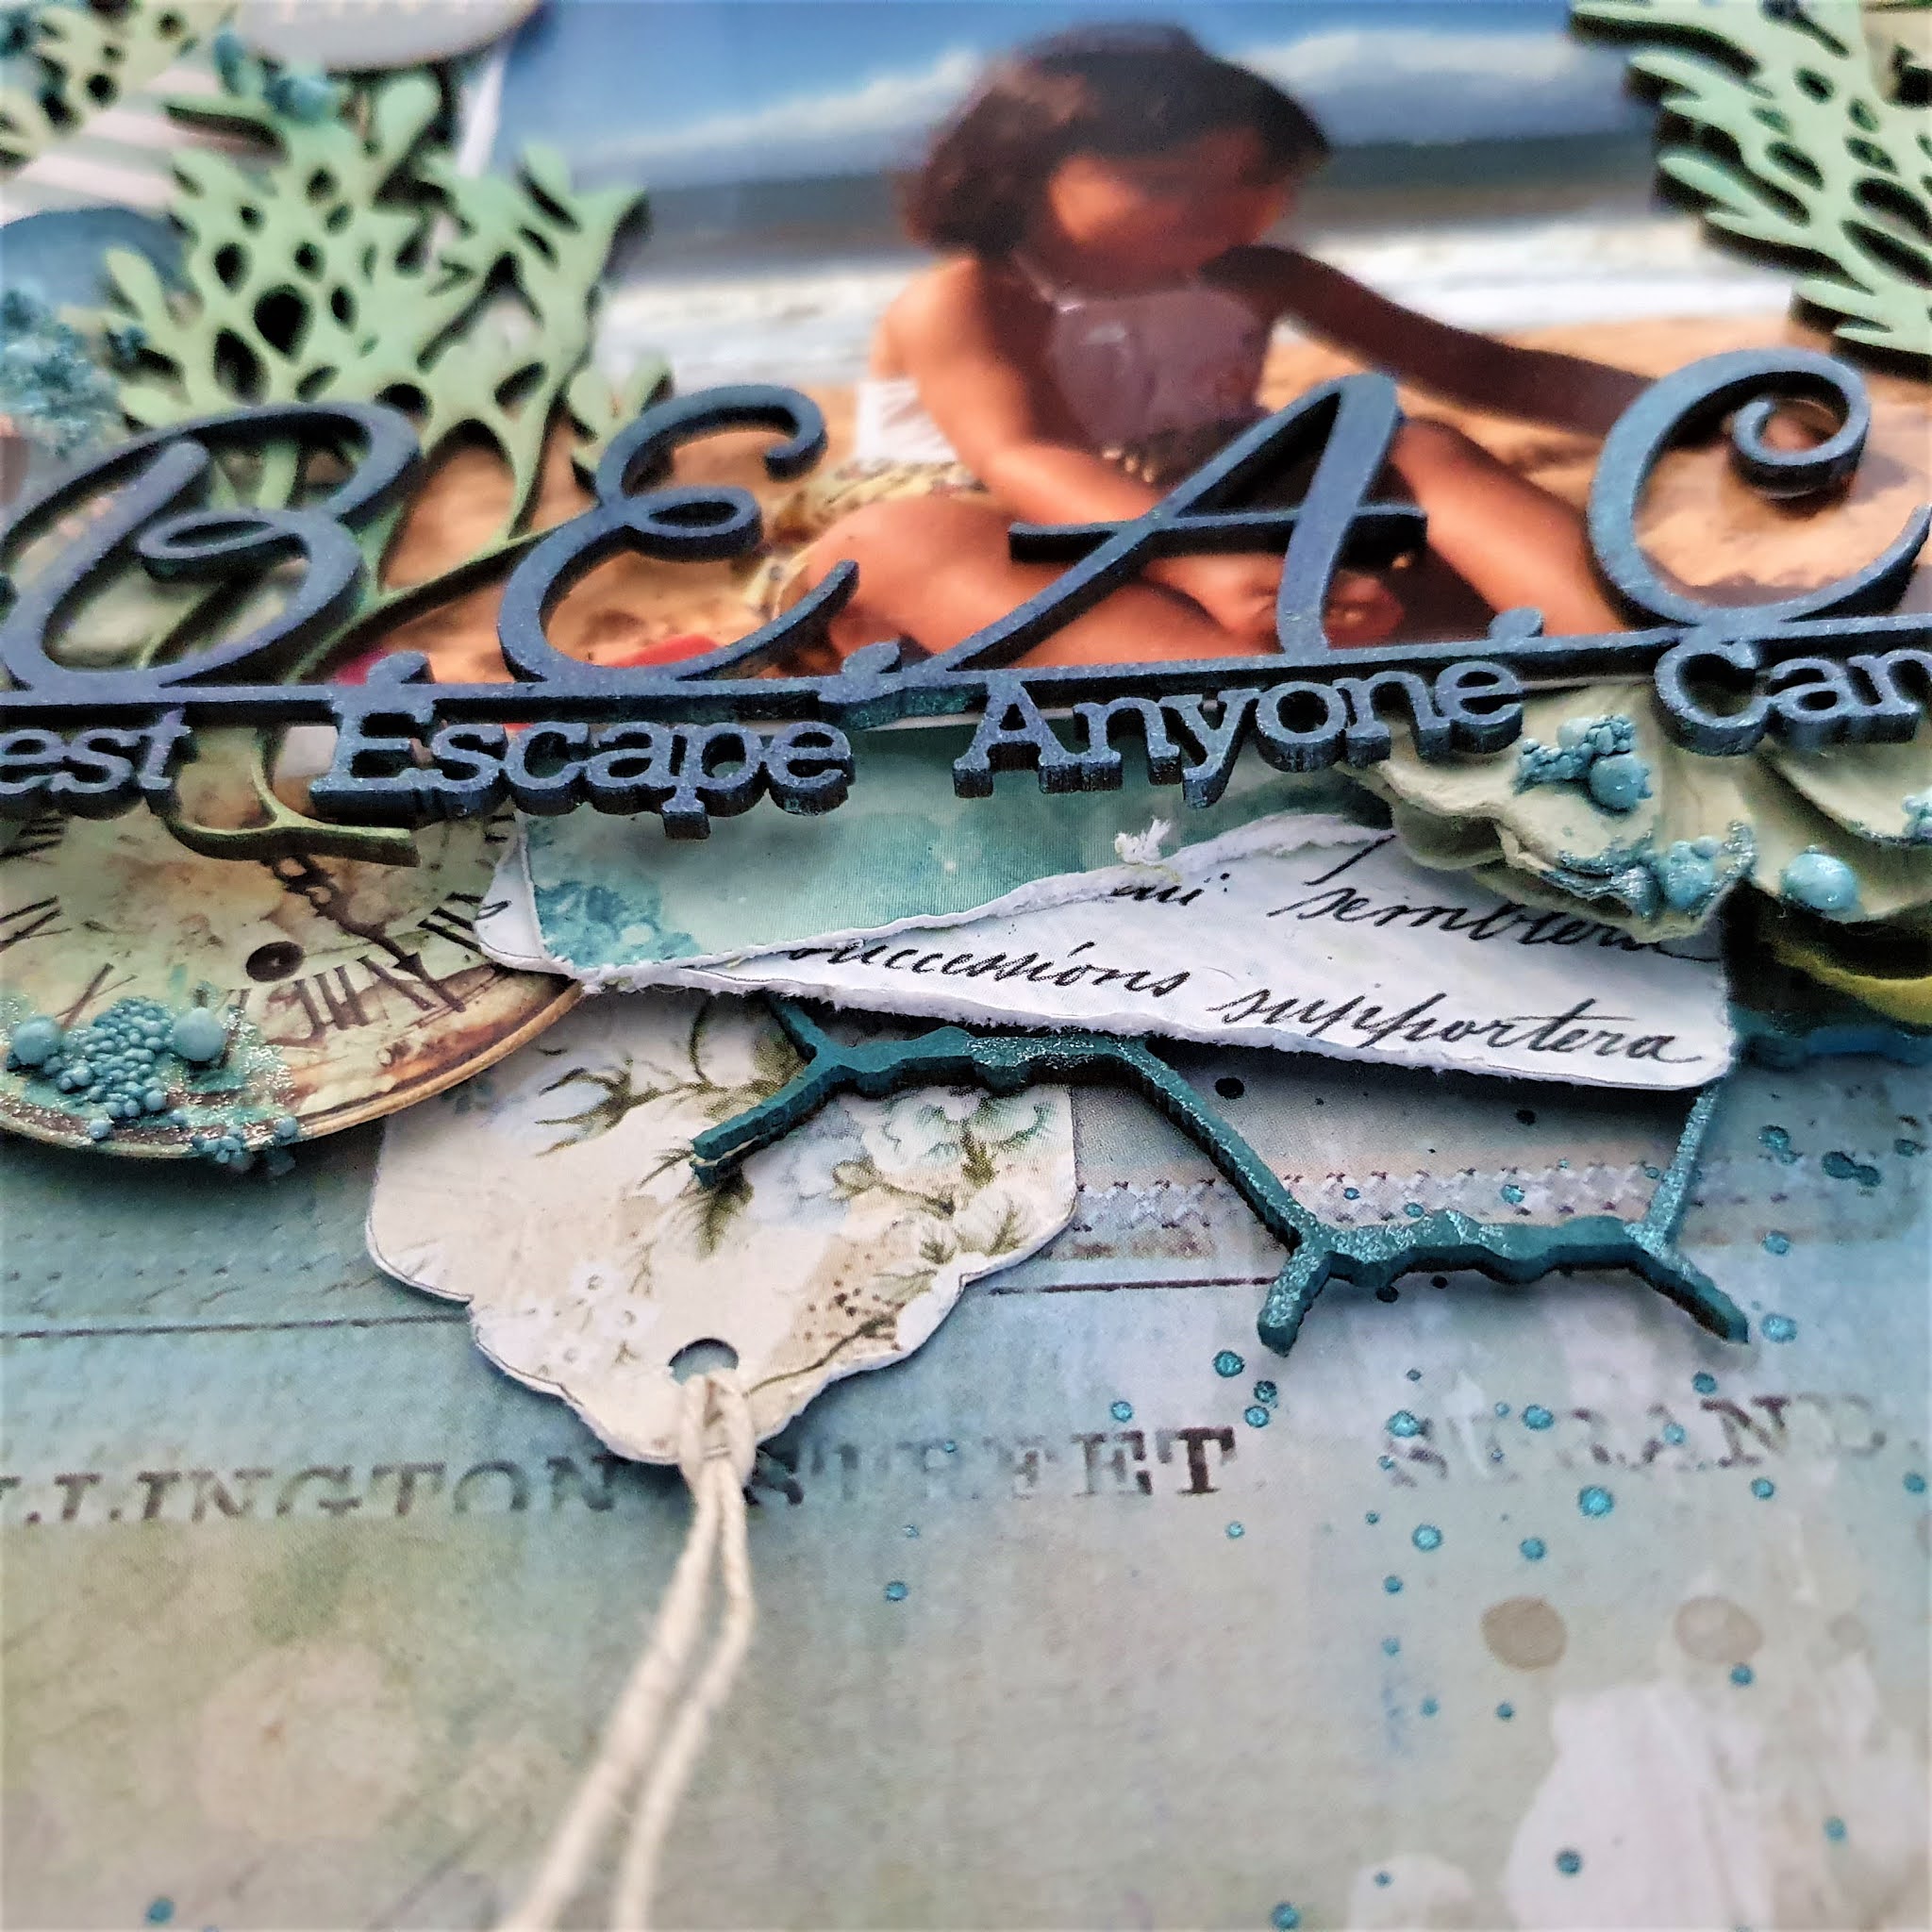
BEACH - Dusty Attic

Hello Dusty Attic fans

Hope you are all well. Have you seen the moodboard for October? It is lovely - there is just something about the sea that is just so calming and beautiful. I have used the sea theme to design my layout today.

Just loving these colours from the moodboard. Here is my layout:

The base for my layout is 49 and Market's Vintage Artistry Shore paper - Tidepool. I have also used some of the laser cut shapes - shells, yacht and fish from the same collection. 
First I painted the Chicken Wire 12 x 12 chipboard (DA0457), and cut this down before adhering to the page. I then added my photo before layering the seaweed (DA1910) on the sides.

The Shell designer discs (DA2222) have been used - cutting the smaller one in half and layering on either side of the photo. The bigger disc was cut down to about 3/4 before adhering to the top left corner, and then adding the sentiment "Paradise isn't a place, it's a feeling" (DA2545)
Once I have finished layering up the flowers and the laser cut pieces, I add the title BEACH - Best Escape Anyone Can Have


I have finished off with art stones mixed with paint before adhering these to my page.

There is still time to submit your entry for the moodboard challenge - and your chance to win one of two $50 vouchers. You can post your entry to the Dusty Fanattics page https://www.facebook.com/groups/1949690068580466

Take care,
Michelle

These are the products I have used and are available on the Dusty Attic website:


Tuesday, 13 October 2020

Joy - 49 and Market

Hello,

Today I am back on the blog with my first October project using the Vintage Artistry Noel collection.

I have used the Vintage Artistry Noel Painted Season paper to do my layout on. The lasercuts in this collection are truly gorgeous - with poinsettias, leaves, Santa's, pine cones - soooo many gorgeous elements to use.  There is also a lovely window frame with the laser cuts and I have used this on my photo adhered to the photo with foam tape, and then adhered this to the paper also with foam tape to allow for flowers and laser cut pieces to be tucked under. I have used the Vintage Artistry Noel Euphorbia Garden and fussy cut one of the large poinsettia out and this is tucked under the photo at the bottom left corner, and then layered flowers (Floral Mixology Blood Orange and using only the red flowers in this pack), laser cuts leaves, Dusty Attic chipboard leaves into clusters in the corners. 
I have added pine cones from the laser cut sheets, but rounding these to give a cone effect and adhered to the cluster using foam tape and adhering the edges with glue to keep the rounded shape.
The Santa's have been added with foam tape. I have then added Stickles to the Christmas tree to lighten it up, and finished off with Art Stones to create that wintery snow feel of a White Christmas.

The wording Merry and Joy also come from the Lasercut sheet in the Vintage Noel paper collection.

Thank you for visiting the blog today,
Michelle


https://www.49andmarket.com/product/vintage-artistry-noel-painted-season/
https://www.49andmarket.com/product/vintage-artistry-noel-12x12-collection-pack/
https://www.49andmarket.com/product/vintage-artistry-noel-euphorbia-garden/
Flowers - Floral Mixology Blood Orange


Sunday, 4 October 2020

We do not remember days, we remember moments - Dusty Attic

 Hello Dusty Attic friends

I cannot believe it is October already! Today I am sharing my October project with you. Something a little different in colour than I normally do. 

I have used the Skeleton Clock and one of the frames from the Get Framed Circle to feature my photos. These have been painted with metallique paint. I have then added my flowers around these. There are also leaves from foliage no 20 added to the flowers.  There are also beaded tinsel chipboard added to the flower cluster.

Dusty Attic has some great quoted sentiments - and here I have used one of these as the title to my page "We do not remember days, we remember moments" 

I have finished off adding some orange paint splatters and art stones

These are the products that I have used:


Thank you for visiting the blog today.


Monday, 28 September 2020

Beautiful - 49 and Market

Hello 49 and Market fans

Hard to believe we are at the end of September already. We are at least heading into warmer weather and longer days here in NZ. Here is my layout created for the blog today:

I have used a mix of Irrevocable Beauty papers and laser cuts, and Vintage Artistry Lilac Ephemera. The paper base is the reverse side of Irrevocable paper Romanticism. The outside of the paper has been edged with the roughly-sewn white rub-ons. These rub-ons are just gorgeous! I have first layered the photo with Ephemera and a frame from the Irrevocable Beauty laser cuts. This has been adhered to the page with foam tape. I have then layered all the Twilight flowers and daisies from the laser cut sheet.

I have made a bow with the lace and added these under the flowers. I have also added leaves from the laser cut sheet.
I have done the same for the little arrangement in the top left corner.

I have finished off adding some art stones and some Grape Soda wishing bubbles.

Thank you for visiting the blog today.

Thanks,
Michelle


https://www.49andmarket.com/product/pixie-petals-twilight/

https://www.49andmarket.com/product/enchanted-petals-twilight/

https://www.49andmarket.com/product/garden-petals-twilight/

https://www.49andmarket.com/product/irrevocable-beauty-laser-cut-shapes/

https://www.49andmarket.com/product/irrevocable-beauty-romanticism/

https://www.49andmarket.com/product/vintage-artistry-lilac-washi-tape/

https://www.49andmarket.com/product/vintage-artistry-lilac-ephemera-stack/

https://www.49andmarket.com/product/wishing-bubbles-grape-soda/

https://www.49andmarket.com/product/lacey-trim-white/

https://www.49andmarket.com/product/roughly-sewn-rub-ons-in-white/


Saturday, 19 September 2020

Little Angel - Dusty Attic September Moodboard

Hello everyone! 

I am here today with a layout inspired by the September moodboard:
Isn't this just the most magical moodboard - so beautiful, calming and relaxing. Here is my take on it
I loved the softness and gentleness that the moodboard presents and I thought that same gentleness was present in my photo, and have scrapped my page around it.
I first started with painting the fancy trim and adhered them to the page back to back. The brick wall was shaped by cutting it, and then cutting through and placed this on either side of the trim before adding my matted photo on this.

The flower cluster was then added before adding the "Little Angel" title on this. 

I then added the flourishes around the flower cluster


I have then finished adding art stone, paint splatters and some muslin.

These are the products I have used:


Thank you for popping by,
Michelle


Sunday, 13 September 2020

Beautiful Moments - 49 and Market

Hello 49 and Market fans

Here is my first project for September, and I have mixed two collections together - Vintage Artistry Coral and Vintage Artistry Shore. I just love the colours. Here is my layout


I have used the reverse side of the Vintage Artistry Coral - Love Letters paper as the base for my layout. The first step, was to add rub-on stitching from the black "roughly sewn" rub-ons. These are gorgeous - and have two pages of rub-ons - I have added the circle stitching from these as well.
I have layered elements from the Coral Ephemera pack, the lasercut shapes from the Coral paper collection pack and some elements from the laser cut sheet in the Vintage Artistry Shore paper collection pack. 
I have used the Vintage Artistry Coral stitched frames for my photo, and I have also added rub-ons from the Vintage Shore rub-on collection.

All the Ephemera and elements from the laser cuts sheets have all been edged with a brown ink, and these have all been layered under the photo.

Here are a few more close ups:


Thanks for popping over to visit the blog today,
Michelle


Thursday, 10 September 2020

I could never in a hundred summers get tired of this - Dusty Attic

Hello Dusty Attic fans

Welcome to September - for us in NZ it means spring and moving into longer and bright days, yay! Today I am on the blog with my Dusty Attic project for September. 


This is a photo of my sister - back in the mid 1970's! Oh my gosh it is such a long time ago! We were on one of our family holidays in this photo, in a city called Durban in South Africa - it was a family favourite holiday destination, right on the beach.
I have used lots of bits of chipboard to make up my layout. I first started with the left over outer bit from the distressed frames DA2673, and then painted frames from polaroid frames and get framed rectangles sets. 

The photo was entwined with the frame, then added paper, and adhered this to the background paper down the centre to be able to tuck the frames in under this. Then the bits of netting have been added under the top and bottom of the photo.

I then added the wooden pieces to the bottom of the frame, before adding the flower cluster. Once this was done, I have then added the smaller of the two compasses and the anchor.
I then do a compass, anchor and flower cluster at the top right of the page.

I have finished off by adding the word sentiment across the top of the frame, dusting art stones and adding in muslin.

These are the products I have used:


Thanks for visiting the blog.

Thanks,
Michelle