Monday, 29 August 2022

Treasure this moment - Dusty Attic

 Hello Dusty Attic fans

Such a beautiful moodboard this month with its soft shades of pink

Why not enter the monthly challenge and enter a project using Dusty Attic chipboard and the moodboard as inspiration - enter your project on the DustyFANattics Facebook page and stand a chance to win one of two AUD50 worth of gorgeous Dusty Attic chipboard.
Here is my take on the moodboard

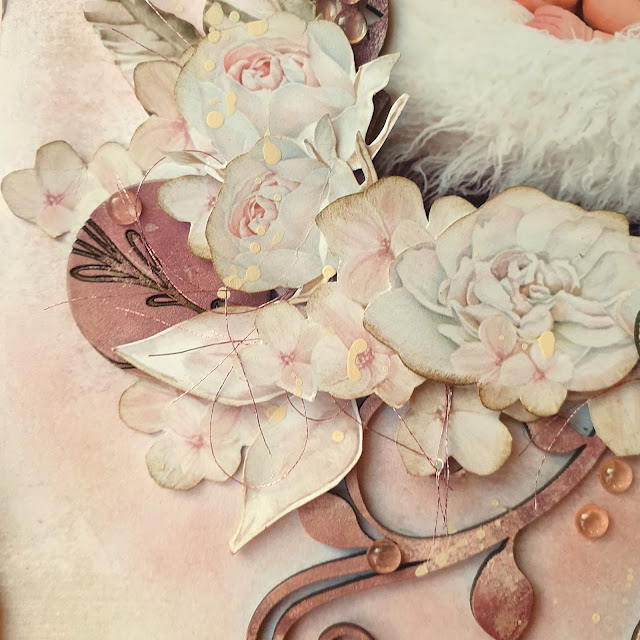
I just loved the softness of the moodboard, and decided that it had to be a soft and gentle type of page and went for a baby layout.
I have painted all the heart clusters (DA3256) and the Botanical mix flourishes (DA3351) with Dusty in Colour Raisin (DA0909), and then dabbed on Dusty in Colour Bisque (DA0921) and Dusty in Colour Pink (DA0907) plus a cream coloured paint to the chipboard.
The Fancy Frame (DA3324) was painted with Dusty in Colour Raisin, and once dry, I sanded the edges and parts of the frame - I have used the medium size frame and the negative piece between the medium frame and the large frame
The Botanical button (DA3315) and word disc "Treasure this moment" was dabbed with a mixture of the paints combined - these discs are just simply gorgeous!

I first added the frame to the top of the photo and the negative of this behind the photo before adding this to the paper with foam tape. I have then arranged the fussy cut flowers with the chipboard around the frames, including the cluster at the top of the page.
I have finished off with glass pebbles and some thread.

These are the products I have used:


Thanks for visiting the blog today.

Hugs,
Michelle


Friday, 26 August 2022

Life is an adventure - 49 and Market

Hello there,

I have created another layout using the Curators Meadow, and creating a heritage layout.

I have used the reverse side of the Curators Meadow Caps paper from the 12x12 Collection paper pack. My photo has been matted with pieces from the Curators Meadow Ephemera pack and the Curators Meadow lasercut pieces. There is a piece in the Ephemera that has a paper clip on it, and I have actually fussy cut the paper clip to slide my papers through so it looks real. I wrapped the matt with some twine.
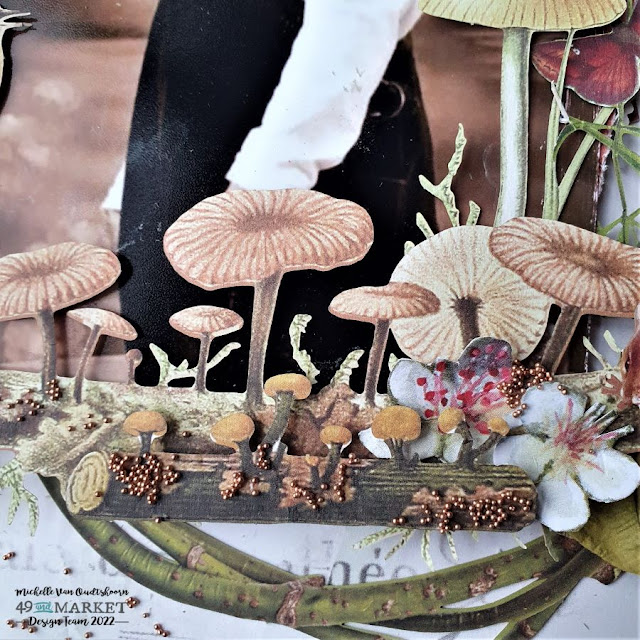
Before I adhered the photo matt, I first decided where I was going to place my rub-ons. I cut out all the black rub on pieces from the Curators Meadow 12 x 12 rub-on set and the 6 x 8 rub on sheets and rubbed these on before adhering the photo with foam tape. I then continued to add rub-ons around the photo. I have also made a small mushroom cluster at the corner of the photo (photo from Tim Holtz collage photo pack)

I also added some of the green leaf rub-ons from the 12 x 12 rub-on pack. I cut the top of the leaves off and so was able to rub these extras around the original one. I have also added the coffee stains and splatters from the 6 x 8 rub-ons sheets.
I then created a little cluster to the right using rub-ons and the outline of the stamp (also used on the photo) is from the laser cut sheet - I have used the reverse side of the stamp.
I also added some mushrooms and the plate is from the Ephemera pack. I continued to add coffee stain and splatter rub-ons to finish my page. The words are also rub-ons from the 6 x 8 sheet.

Thank you for visiting the blog today.

Take care,
Michelle


Thursday, 11 August 2022

Oh, my happy heart - 49 and Market

Hello! 
Oh my goodness - I just love the new Curators Meadow, and so lucky to have the privilege to have a play with this gorgeous new collection. I have created a 12x12 layout
I have used a green paper no 4 out of the Curators Meadow Solids Collection pack, and then using the reverse side of the Curators Meadow Arbor (from the Collection pack), tore this down and then sanded the torn edges before adhering this paper to the solids paper - higher up on the page and leaving a gap at the bottom of the page and added the green leaf washi tape from the Curators Essential stitched washi-tape . I have fussy cut the flowers from the Curators Meadow Flora paper.  The photo was then matted with pieces out of the Curators Meadow Ephemera pack, before adhering this to the page with foam tape.
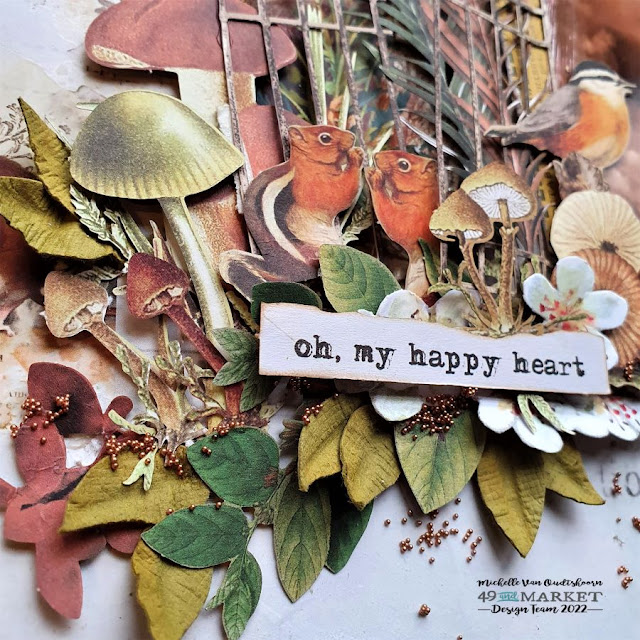
I first cut the gate from the Laser Cut pieces in half and tuck the right piece under the photo only gluing the edge at the photo edge. I added the flower and some leaves from the Curators Meadow 6x8 rub-on transfer sheet to the paper, before I began layering the mushrooms, foliage and animals from the Curators Meadow laser cut pack.


I have also cut apart some of the leaves and the branch with the birds and added these in different places.
I have added the flowers among the mushrooms and foliage that was cut from the Flora paper.
I have also added script-like rub-ons from the 6x8 rub-on transfers to the page, as well as the wording in the top left of the page to "break" the whiteness in that corner. 
I finished off adding the title "oh, my happy heart" title off the laser cut sheet and gluing on some micro beads.

Thanks for visiting the blog, and I hope that you enjoy this collection as much as I have.

Till next time, 
Michelle

Thursday, 4 August 2022

Flower Canvas - Dusty Attic

 Hello lovely people

Todays project features the Dusty Attic moodboard for July. Such pretty colours! Still a few days to take part in the Challenge and add your entry to the Dusty FANattics facebook page using the moodboard and you can win one of two AUD50 worth of fabulous Dusty Attic chipboard :)

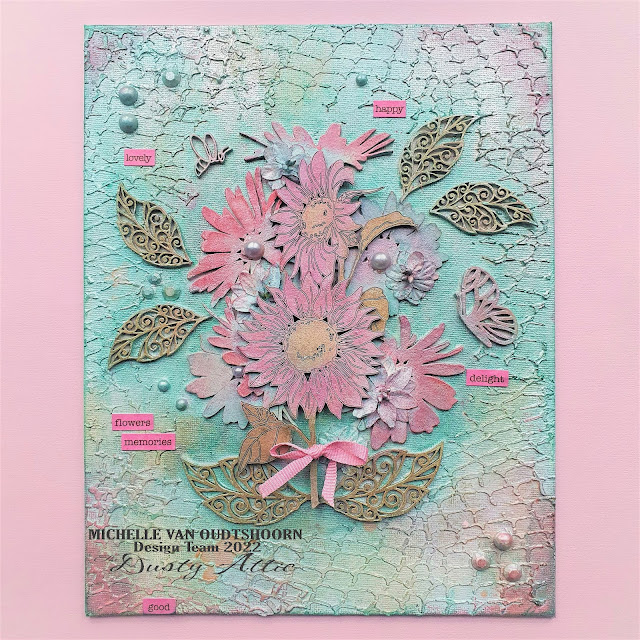
I have created a canvas for a change. I have used an 8" x 12" canvas which I first covered in white gesso and then added a stenciled background around the outside using texture paste and the Dusty Attic fishnet stencil DA1496. 

I played around with the chipboard to see how I would place it first, and added pearls and bling to the canvas for extra texture. Took a photo of my placement, before taking these off to paint my background. There is a mixture of Prima Alchemy metallic paints, waxes and ink sprays used on the back ground.  I painted the sunflowers DA3317, the daisies DA3306, the bee DA3314, the leaves DA3333 and the butterfly DA3335 with metallic paints too, dabbing them with a sponge to create different tones with the different colours.

I adhered the chipboard pieces to the canvas with glue. I then added darker coloured paint to the edges of the canvas and flowers to provide extra depth.
When I was done, I was able to tie a little bow around the stem of the Sunflower and added some words.
These are the products I have used:


Thank you for visiting the blog today.

Take care,
Michelle


Wednesday, 3 August 2022

Journey - Dusty Attic

 Hi there!

So excited to be able to play with the new industrial chippies that Dusty Attic have released. There are so many lovely pieces, I didn't know which one to pick first. I eventually did settle on the Marine Mechanical Large Seahorse (DA3359) And then there were several Industrial clusters to choose from! 

I went with creating a canvas. This was covered with a Stamperia rice paper, and then I added some crackle paste, once dry and crackled, I brushed over the cracks with a teal acrylic paint so that the paint would seep into the cracks. I then stamped over the canvas with an archival ink. 
All the chipboard pieces were covered with white gesso before adding paints and stains.
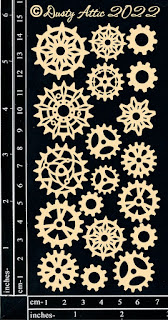
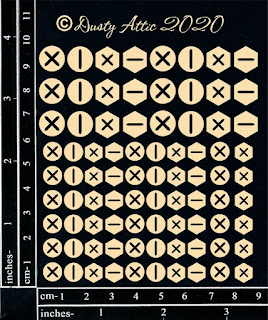
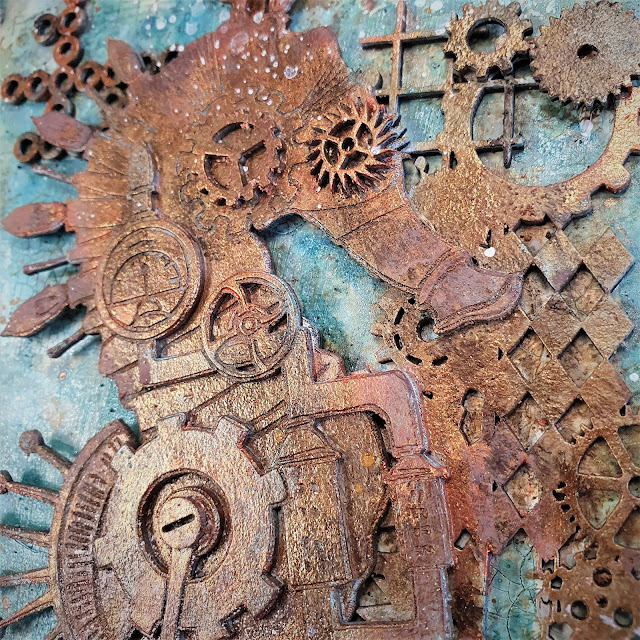
I first added the industrial clusters under the seahorse - these were Industrial Cluster #9 (DA3381), Industrial Cluster #3 (DA3375) and Broken Bits #12 (DA3370). Industrial Cluster #1 (DA3373) is placed at the top left corner. Using mini cogs DA3363, I added dimension to the industrial clusters and the Seahorse, by adding additional cogs. I have also used some mini screw heads (DA2879).
The title is from an older range - Blueprint wordpack (DA2225), still one of my favourite and perfect with the new industrial release.
I have used a mixture of Prima Alchemy Metallique paints and Tim Holtz Stains to colour my chipboard.
These are the products I have used:


Thank you for popping over to visit the blog today.
Take care,
Michelle