Monday 28 June 2021

Choose happy - 49 and Market layout

Hello scrappy friends

We are well into the middle of winter here in New Zealand - and when I created this layout for today's post - it was a grey day and had rained all day - ideal for cranking up the heat and scrapbooking!

I have created a layout today using the Vintage Artistry Blush collection:

Such a happy and vibrant range with its hot pink tones, I just love working with this collection.

I have used the bonus page that is included in the 12 x 12 collection pack - this is the reverse side of the cover. I then cut about 5" x 12" off the Vintage Artistry Blush Serene paper and adhered this to the top of the page and a bar strip off the Poised Paper. I then added a strip of Vintage Artistry Sage washi tape on top of the join.
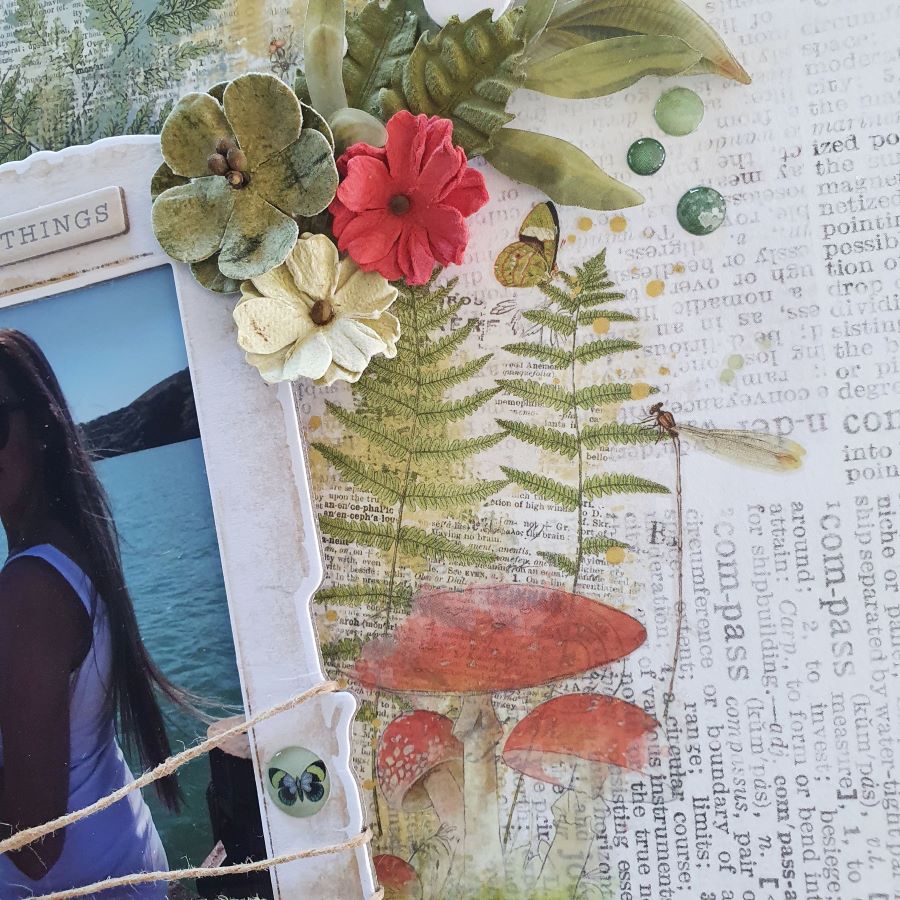
I have used two photos here - one that is a 4" x 4" and a 4" x 6" photo. There are frames that are included on the laser cut sheets of the Blush pack. I added the 4" x 4" frame to the smaller photo and the larger frame to the larger photo, adhering the smaller photo and frame on the bigger frame and photo aligned to each other -  added with foam tape. Ephemera and other laser cut pieces were added behind the photo before adhere to the page, plus I added a word clip "today".  I then added rub-ons around this before starting with the flowers.

Using Royal Posies Passion Pink and Olive, as well as Ivory Majestic Bouquet, I created my flower clusters. I broke the leaves off individually of the leaf pieces on the laser cut sheet, and adhered these around the flower clusters.


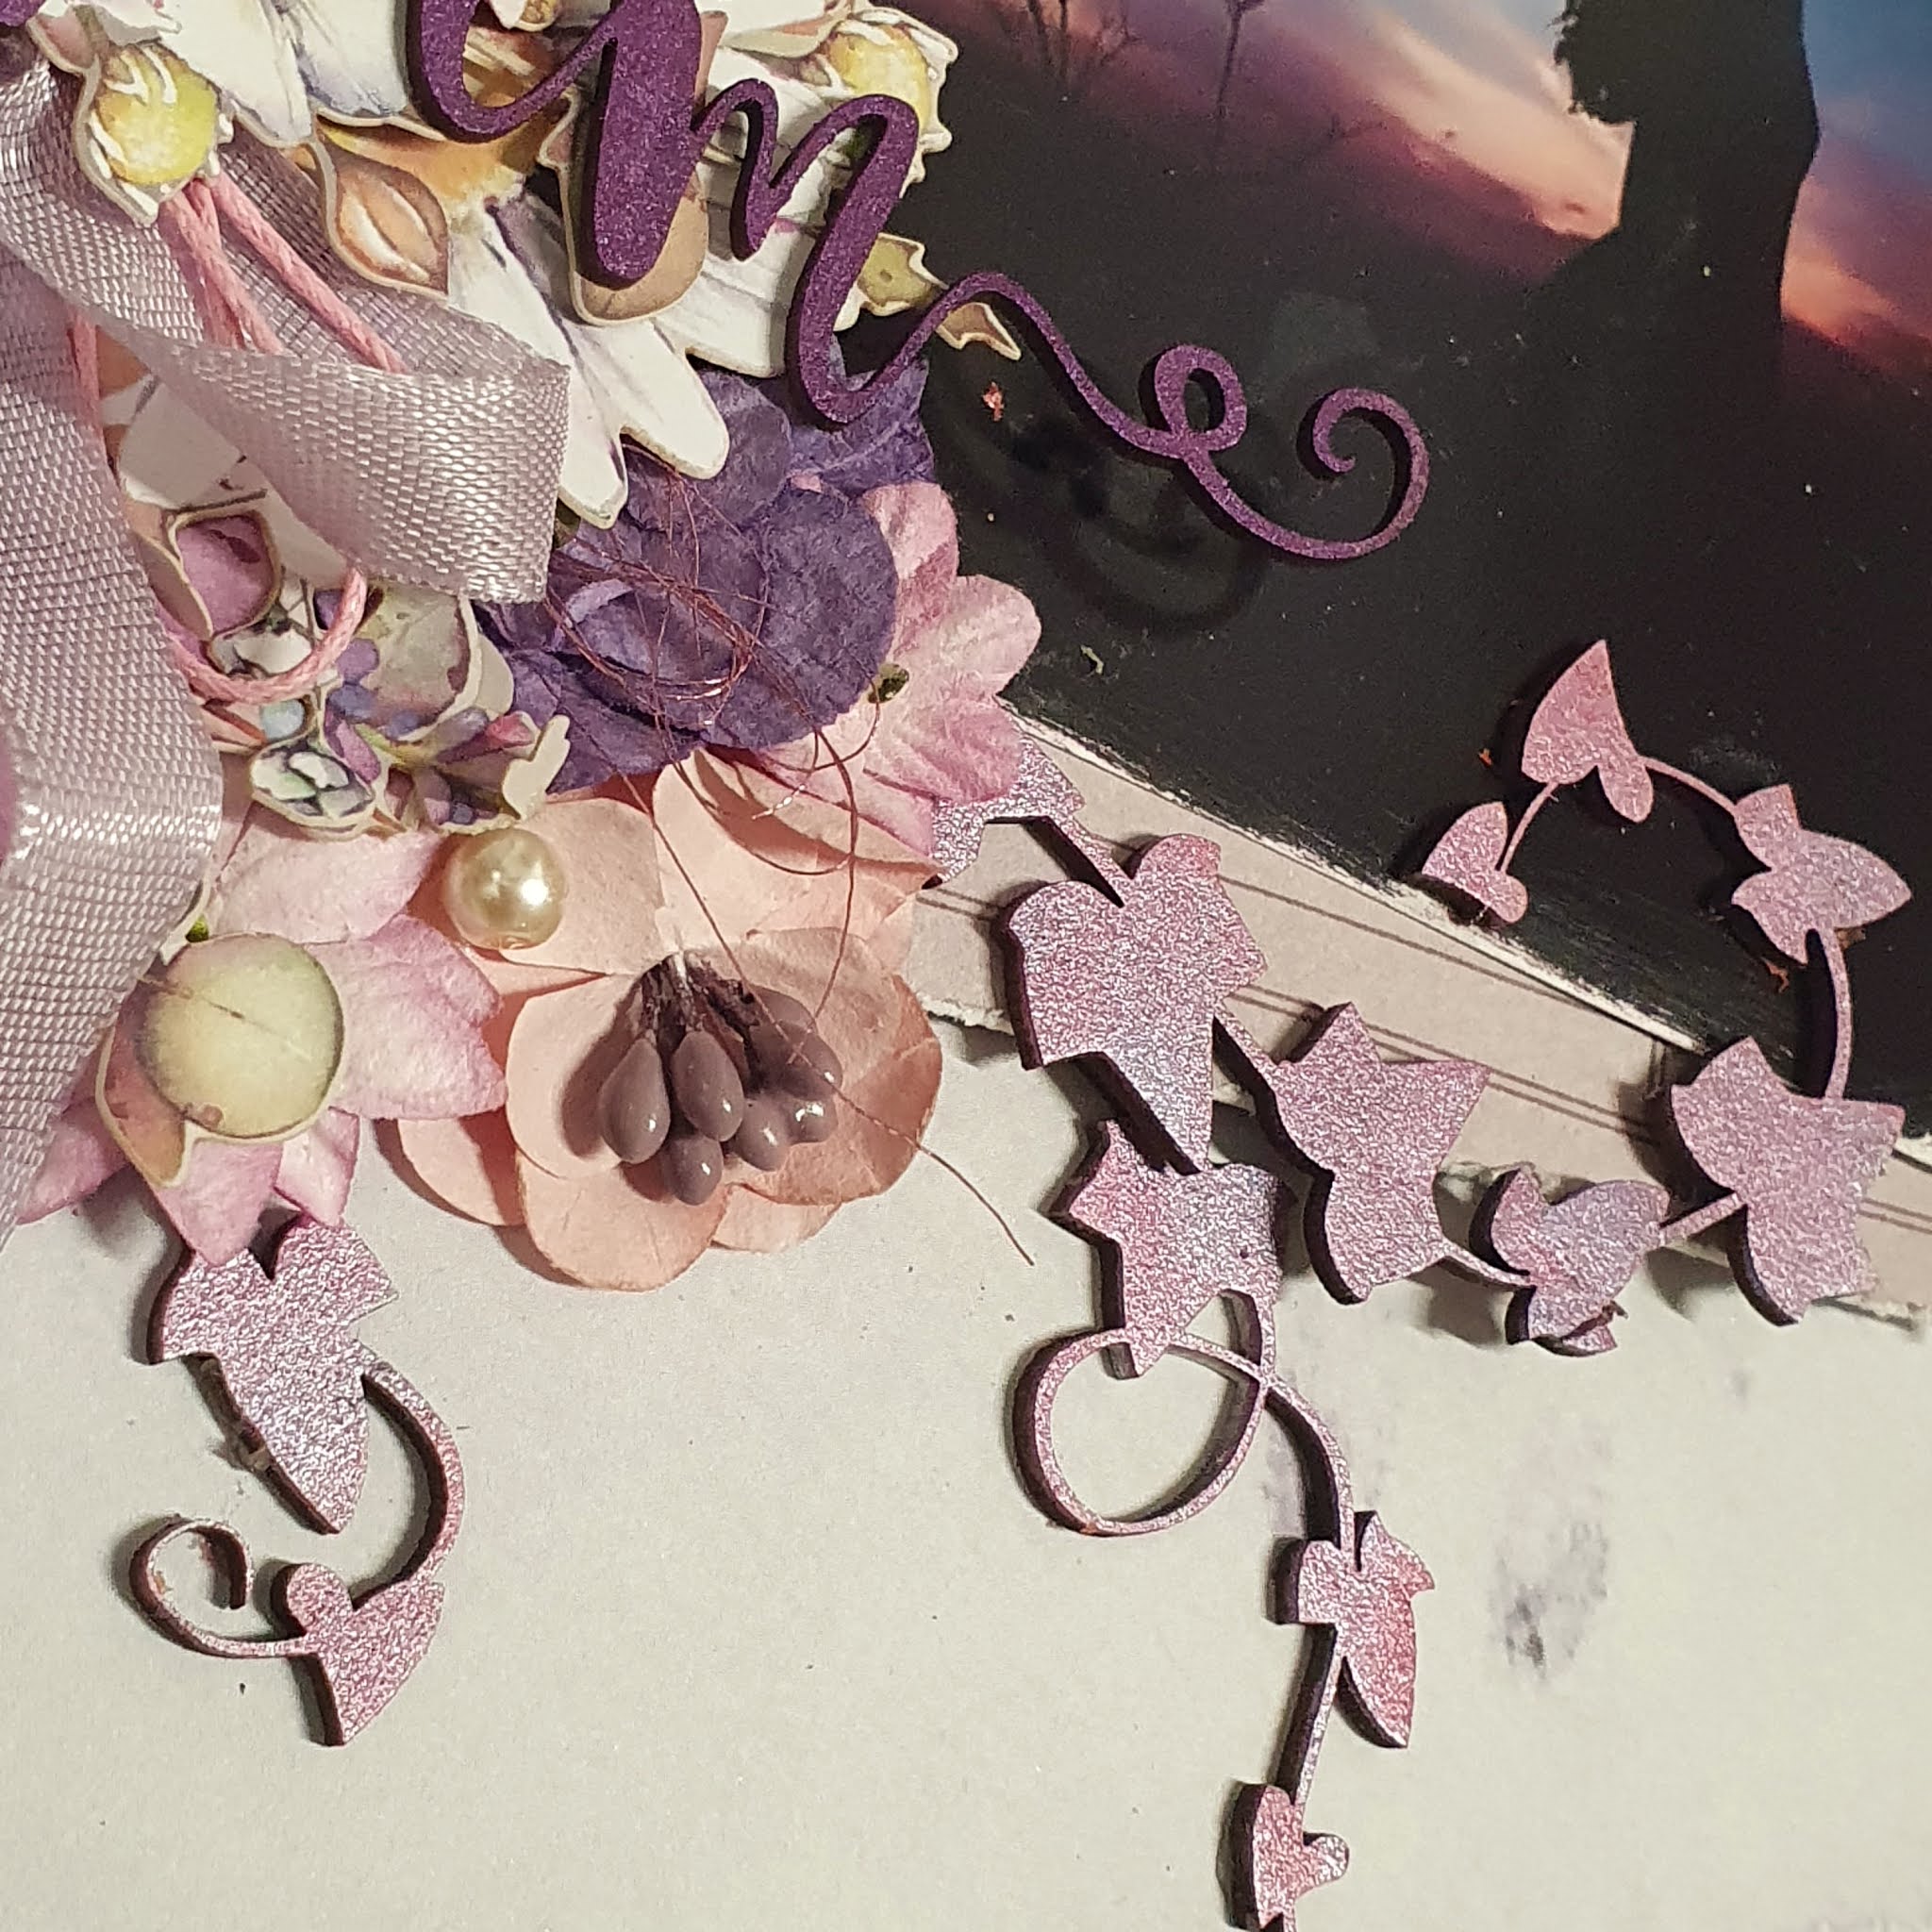
The title Choose happy is off the Vintage Artistry Blush rub-on transfers.

I finished off adding some Vintage Artistry Blush wishing bubbles and baubles, and then splattering white paint over the flowers.

Thanks for popping over to visit the blog today.

Take care,
Michelle


Dusty Attic June Moodboard - Dream

 Hello everyone

I am back on the blog today with my project inspired off the gorgeous moodboard for June. These colours are just so pretty and I loved working with these colours:

So pretty and so dreamy!!

Here is my moodboard inspiration:
Here I have used a 49 and Market Irrevocable Beauty Timekeeper paper and some of the 49 and Market Lilac ephemera to layer my photo. I painted all my chipboard with Prima Alchemy paint and some of it I also added some waxes to enhance these. I first attached the ephemera, and added the DA1529 flower frame behind the paper before adhering to my page. 

The Juliette window frame DA2358 was then added, before layering my flowers.

Once I had layered my flowers, I added my ivy leaves DA2601 tucking under the flower cluster.


The little owls DA0755 are so adorable and come in pieces they can be built up - eyes either open or closed. 


Once I had finished I then added the title Dream DA1602, and added some pearls and shiny thread


These are the Dusty Attic chipboard pieces I have used:


There is still time for you to enter the monthly moodboard challenge by using the moodboard as inspiration and adding your entry to the Dusty FANattics facebook page - you could win one of two $50 vouchers worth of awesome Dusty Attic chipboard products.

Thanks for popping by,
Michelle


Sunday 13 June 2021

Hello all from a wintery New Zealand!

I am so excited to bring you a layout featuring some more new products from 49 & Market - another new range called Vintage Artistry Hike More.

I have only used the papers and the rub-ons from this range - but it at leasts gives you an idea of the new range that is coming out.
The papers used are the VA Hike More paper called Boscage and the other is called Journal Card. 
I loved the mushrooms on the barcode tab on the bottom of the Boscage paper, so I decided to keep it and cut a strip of paper the same width as the bar strip from the top of the Boscage paper. I the tore the edges off of the reverse side of the Journal Card paper, and curling up the edges of the paper here and there. This is then attached to the Boscage paper making sure the mushrooms are open. I first played around getting my elements on the page before deciding how I would place my Vintage Artistry Hike More transfers on the page. Aren't these mushrooms just gorgeous??
These transfers are gorgeous - filled with lovely mushrooms, leaves, little animals, scripts - to name a few. And they look fabulous on the white of the Journal Card paper.
The photo frame and the title "THE LITTLE THINGS" are off the VA Essential Chipboard stickers.  The flower and leaf clusters are made up from a number of embellishments: leaves from the  VA Wedgewood layered embellishments, the lasercuts from the VA Wedgewood 12x12 paper collection and the leaves included in the Royal Posies packs. I have also rubbed on leaves from the VA Hike More transfer sheet. The frame has been wrapped with the single ply jute, making up a bow at left edge. Once the flowers and leaves were added, I then cut into the bows so they became single strands of twine sticking through.

The flowers are the Royal Posies in Olive (green ones) and Tomato (red ones). I have also scattered some Sage Wishing Bubbles on the layout. The sticker "THIS" is off the VA Essentials chipboard stickers.
The title "some kind of wonderful" is from an earlier range of transfers VA Everyday (unfortunately retired now - but is a good way to show that you can use the words in other transfers as titles for your pages). The butterfly is out of the VA Essentials Foliage pack.

Look out for the Hike More range shipping soon! 

Thanks for visiting today.
Michelle


Thursday 3 June 2021

all boy - Dusty Attic

Hello Dusty Attic fans

We are truly into winter in New Zealand and this weekend past, we had torrential rain - a 1 in 100 year event - it's been quite horrific! I did manage to get some scrapbooking in - and created this layout for my June project:

This is one of my favourite photos of my son - who is now 28. I have used this photo a few times, but just love it! I have painted all my chipboard pieces with Prima Alchemy paint and then rubbed on Prima wax to give it different shades.
I used two different sizes of the Techno circles from DA2856 and DA2858, which I attached in from of and behind the photo, before placing these on the two clog clusters. 
I tucked the papers under the cluster clogs before sticking everything down. 
I have used industrial chains DA1938 and some gears by Nuneka DA2734. to make this feature in the corner, and used the chains on the main design.
I added a few other gears to the page.

The title was made up of letters from the alphabet set "fun times" DA2698. The letters were also painted with Prima Alchemy paint and then once dry, sanded on the edges of each letter before adhering these to the page.


These are products I have used:


Thanks for visiting the blog today,
Michelle