Wednesday 26 October 2022

Live Your Dream - 49 & Market

Hi there,

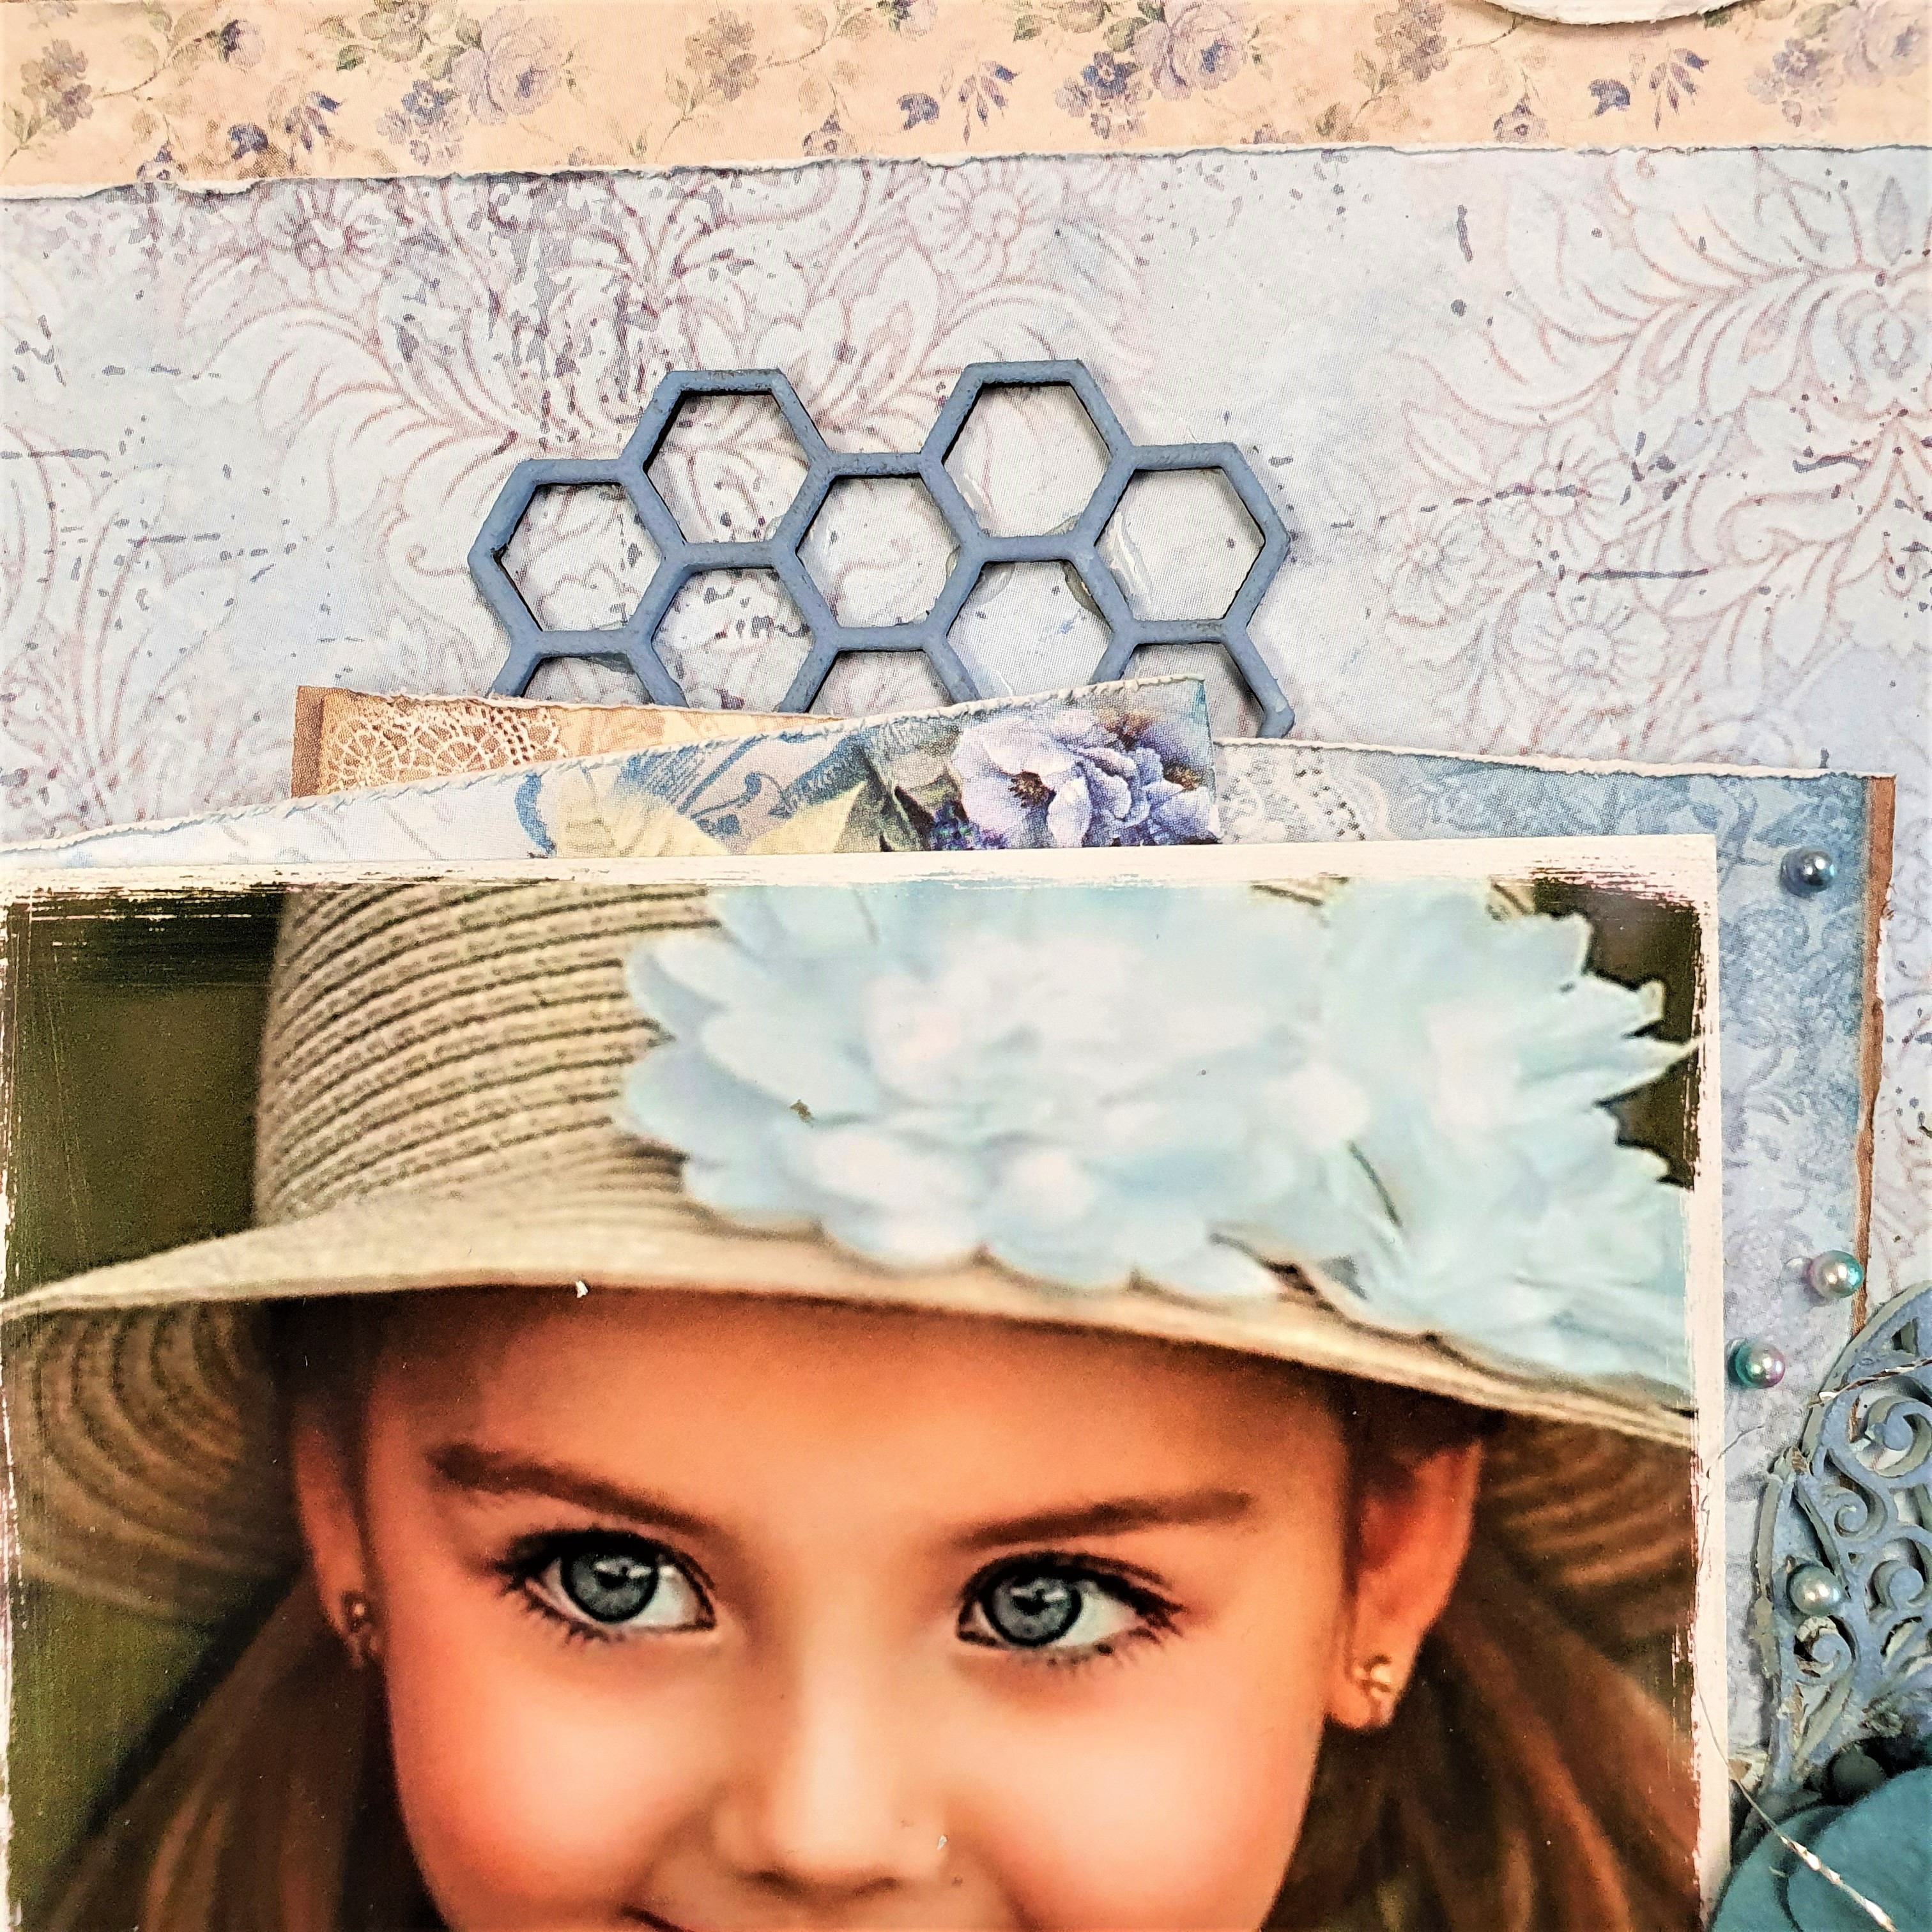
I got the opportunity to play with another gorgeous new range - and for me anything with blues in it, is a hit. I love blue. And this new Vintage Artistry Serenity has just those beautiful blues in it. Here is my layout using this gorgeous collection:

Isn't this so collection so pretty? I have used the reverse side of the Vintage Artistry Serenity Hidden Whispers paper from the Serenity Collection pack. I have then used a piece of ephemera from the Serenity Ephemera pack, cut another mat from the Serenity solids paper no 3 from the Serenity solids 12x12 paper collection, and added another ephemera piece. This was then adhered to the page. Under this the flower piece sticking out on the left is a piece of washi tape - this flower washi tape is just gorgeous!
I then started adding and layering the blue leaves, the brown leaves and flowers from the Serenity Laser Cut pieces pack. These were layered with foam tape. 
I have also tucked Serenity chipboard pieces among the flowers and leaves. The flowers I have added are a soon to be released collection - and I have dry brushed these with some blue paint to blend in with the blues of the layout. I created the cluster at the top of the page with laser cut leaves and a chipboard tag.
The frame from the Ephemera pack was added under the photos and then I have rubbed on the the word "BEST" from the 12x12 rubon pack. I then added rubon "splatters" around the the page from the 6 x 8 rubon pack. The leaves "outline" under the flowers is also from the 6 x 8 rubon pack.

I have finished adding a laser cut butterfly - adding glue to the body and foam tape under the wings to give it dimension. I have added some tiny white pearls. The title Live Your Dream is from the Ephemera pack.

Thank you for visiting the blog today.

Hugs,
Michelle

https://www.49andmarket.com/product/vintage-artistry-serenity-hidden-whispers/
https://www.49andmarket.com/product/vintage-artistry-serenity-12x12-collection-pack/
https://www.49andmarket.com/product/serenity-solids-paper-3/
https://www.49andmarket.com/product/vintage-artistry-serenity-solids-12x12-collection-pack/
https://www.49andmarket.com/product/vintage-artistry-serenity-laser-cut-outs/
https://www.49andmarket.com/product/vintage-artistry-serenity-ephemera-bits/
https://www.49andmarket.com/product/vintage-artistry-serenity-12x12-sentiments-rub-on-transfer-sheet/
https://www.49andmarket.com/product/vintage-artistry-serenity-chipboard-bits/
https://www.49andmarket.com/product/vintage-artistry-serenity-washi-tape-assortment/


Tuesday 25 October 2022

Woodland Stories - Dusty Attic

Hello lovelies

We have a lovely moodboard for October for the Dusty Attic monthly challenge - I really like this moodboard. I find these colours really calming. 

You still have some time to enter the challenge using this months moodboard and Dusty Attic chipboard, and uploading your entry to the DustyFANattics Facebook page. You could win one of two AUD$50 worth of gorgeous Dusty Attic chippy!
Here is my take on the moodboard:
I have used the Mintay Range of papers - called woodland stories - hence the title using the Fun Times alphabet DA2698. I have painted all the chipboard pieces with Art Alchemy green paint, and then dabbed a bit of brown to the edges of these pieces. 
I built up the flower clusters and then added the oak leaves foliage DA2784

When adding paint to the chipboard, I always dab the chipboard with a dauber or a sponge to keep the etched lines of the leaves visible

These are the products I have used:


Thanks for visiting the blog today, I hope you will enter the Moodboard challenge!

Hugs,
Michelle


Tuesday 11 October 2022

Simply Magical - 49 & Market

Hello lovelies

Oh my ... the new collection ARToptions Holiday Wishes is just breathtakingly beautiful - the rich reds and soft blues ... simply gorgeous!

The paper is the reverse side of the Poinsettia Dreams paper from the ARToptions Holidays Wishes 12x12 collection pack. I then added the large wreath from the 12x12 Holiday Wishes rubons pack. 
The photo has been matted with various pieces from the Holiday Wishes ephemera pack - the edges of these pieces have been distressed. This was then added with foam tape to the bottom round edge of the rubbed on wreath.


All the flowers and blue leaves used are taken from the Holiday Wishes lasercut pack. I have also fussy cut some of the flowers and poinsettias that are included as a bonus sheet on the inside cover of the collection pack. Some of the petals have been curled to create dimension and these have all be layered using foam tape to create dimension. And how cute is this paper ribbon adhered to the top of the flowers?
There is beautiful lace pieces in the lasercut sheets and I have added a blue one tp the bottom of the photo. I then added the wording "holly jolly christmas" on the edge of the photo on top of the lace from the ephemera pack. Another cluster of lasercut flowers was added to the right corner of the photo and with another gorgeous paper twine bow - and lasercut reindeer. The little flower petals are new range to be released soon.
I finished off adding a little flower detail at the top left of the page, with some rubon leaves from the 6x8 rubon pack. The title Simply Magical, as well the rubon splats and music notes are rubons. I just love the rubon that I have added down the left side of the top of the page - with the dates and days - I think it's really cool! These rubons are all off the 6x8 rubon pack.

Thanks for visiting the blog.

Hugs,
Michelle


Monday 3 October 2022

Infinite Beauty - Dusty Attic

Hi there, 

And here we are in October - what happened to September? I feel like I literally just blinked my eyes and September disappeared. Here is my layout for October:

I painted the honeycomb broken bits DA3318, leaves DA3333, butterfly DA3335, and the botanical buttons DA3316 with a light blue chalk paint and the foliage clusters DA3303 with a cream acrylic paint.
I have added layers of paper and the honeycomb broken bits behind the photo and adhered to the top centre of the page.
I have then added the foliage clusters on either side of the photo before layering up the flowers and the chippy leaves.

I have added leaves and the botanical buttons, and added the butterfly on top of the flower cluster.
I then created the title with two of the leaves and flowers at the bottom of the page. I have finished off adding pearls and some silver thread.
 
These are the products I have used:


Thanks for visiting the blog.

Hugs,
Michelle