Thursday 25 July 2019

Selfie - Dusty Attic

Hello Dusty Attic Fans

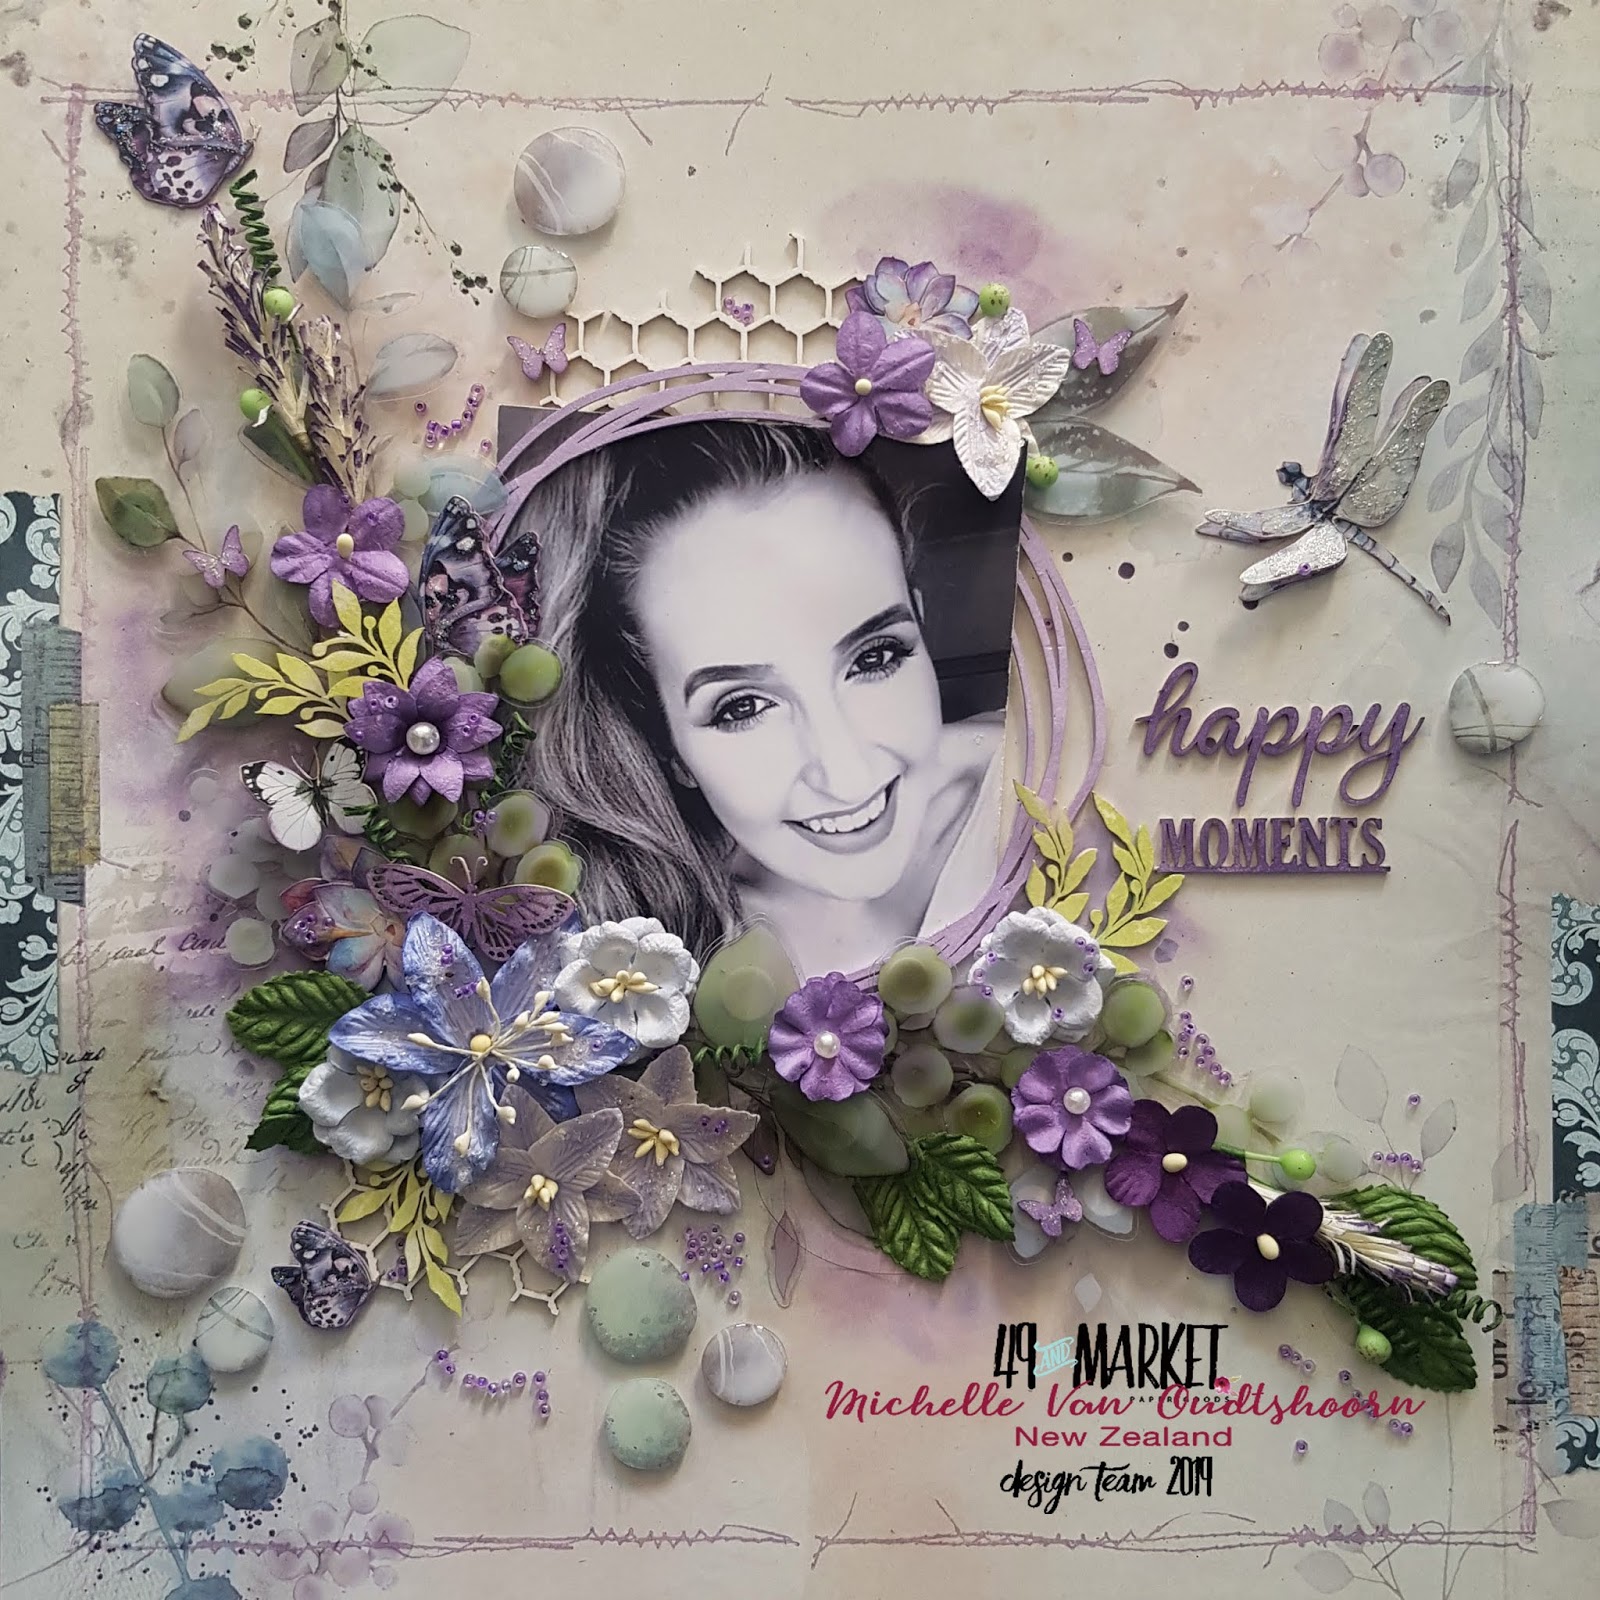
Today I am on the Dusty Attic blog featuring my layout for the July moodboard. I have done my layout of my daughter who was trying to teach me how to do selfies. I couldn't get my pose right, so she took my phone and said "here Mom like this, and this was the photo she took as a selfie on my phone 😋.

And here is my layout featuring these gorgeous colours:

This is a Stamperia set of papers. I have started by colouring the Mystic Frame in a mixture of Dusty in Attic acrylic paint Denim and Capri and sponging this on the chipboard, as well as the leaves, and the keys. I the made a shaker box before adhering the flowers. I then mounted the photo on layered papers, distressing it and adhering it to the page with foam tape, before adhering the the Mystic Frame on top of the photo
I layered the flowers and added the leaves in under the flower arrangement
I have added in some little keys, I think these are quite cute!
I then painted the script chippie with Dusty in Colour gold paint, I then cut this up and stuck this behind either side of the photo and another bit at the end of the flower cluster on the left.


I have finished off by dabbing both a mixture of Dusty in Colour Raisin paint and some Capri on the title "Selfie"


Thank you for visiting the Dusty Attic blog today. And why not take part in the Moodboard challenge, for your chance to win a $50 voucher. Perfect, as Dusty Attic have just released their new range for 2019!

Products used

Have a lovely day, and see you soon!

Michelle

Tuesday 23 July 2019

49 and Market - Captured

Hello there!

I am so loving the new range of flowers, and today I am going to show case some of the new flowers using a mixture of other gorgeous 49 and Market products. Here is my layout for today using Bold and Beautiful Garden Letters paper:

Using the Vintage Remnants Laser Cut sheet no 1, adhere the photo to the frame. Add the postcard from Bold and the Beautiful Laser Cut Sheet, and then the postcard from the Vintage Remnants Laser cut no 1 behind the photo and then adhere to the page on foam tape. Tuck the chicken wire behind the photo and the postcard on the right.
3D the flowers from the Bold and Beautiful Laser Cut Sheets, and then start layering the flowers. I first started by making a triple bow from the single ply Jute Cording Single, adding it to a piece of foam tape before adhering the first flower in the left corner.
The flower cluster is a mix of the flowers and the 3D flowers from the  the Bold and Beautiful Laser Sheet, the Scarlet mini series flowers, the Tangerine wildflowers, and some of the Tangerine country blooms. I have also used all the leaves from the Bold and Beautiful Laser Cut sheet, as well as some of the stamps.
I have broken up the Tangerine wildflowers, and layered these through the flower arrangement. I have tucked the lace chippie from the Treasure archival board under the flowers, and have randomly added the cogs from the Great Outdoors archival chipboard through the flowers. I have also cut up the chicken wire and added this in. There is also some of the leaves from the new Ethereal Layered Embellishments.
I have then finished off with adding a mixture of art stones
 Pop over to the 49 and Market blog for details on all the gorgeous products I have used.


Thanks for visiting my blog today! 


Sunday 7 July 2019

Happy Moments - 49 and Market

Hello 49 and Market fans

I am so thrilled to be able to showcase the lovely new layered embellishments 49 and Market have released. These are nothing short of stunning! They are beautifully layered 3D embellishments, that really pop on a page. Here is my layout featuring my gorgeous daughter, with the Serendipitous layered embellishments and some of the newly released flowers too

The base page is Serendipitous After the Rain paper, and stamped around the page with Gabi's Line stitch Stamp Set. I then coloured and used all the pieces from the Archival Chipboard "happy Moments". I inserted the photo in the circular frame and lifted it on foam tape. I then started with the large flower from the Stargazers-Periwinkle and layered the other flowers and the leaves from the layered embellishments.
 I actually broke up the leaves and the seeds as well as the wired spirals from the Stargazers-Periwinkle flower set, which I inserted as I layered. I then added other flowers and pieces from the Mini series Flowers set (violet) and the Wildflowers (violet).
 
 I then layered the butterflies and the dragonfly from the Serendipitous laser cut sheet and added these on the layout, adding some stickles to the wings. I finished off with adding some beads on the layout and dash of violet ink around some of the flowers.
So love these beautiful colours!

These are the products I have used:


Till next time, happy crafting lovelies!