Wednesday, 25 June 2025

Hello lovelies

I just cannot resist this Little Dreamers/Little Celebrations collections, and have created another layout

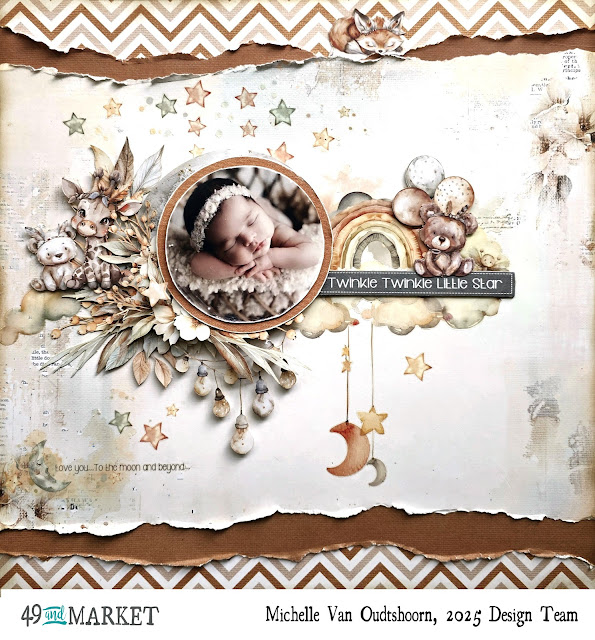
The base of the layout is reverse side of the Little Dreamers paper Tiny Treasures. Tearing about an inch off the Little Celebrations/Little Dreams solid paper no. 4 (cut a circle mat for the photo in the middle first), adhere that to the Tiny Treasures paper. Again tearing the Little Dreamers Over the Moon paper and adhere this on top of the solids paper. There is a moon with flowers in the Little Dreamer Laser Cut Elements, which I have adhered behind the photo matt, and adhered this with thick foam tape to the paper. 
From there I began layered laser cut flowers and leaves from the Little Celebrations Laser Cut Set. And adding the little animals and the light bulbs from the Little Dreamers Laser Cut Set.

I then added rubons from the Little Dreams Rubon Transfer set - the clouds and rainbow, then added the title "Twinkle Twinkle Little Star" from the Little Dreamer Chipboard Words, and adding the Teddy and balloons from the Little Dreamer Laser Cut Set.
I finished off adding the sleeping fox at the top and the rubon stars.

Thank you for visiting the blog today.

Hugs,
Michelle


https://49andmarket.com/product/little-dreamer-little-celebrations-solid-paper-4/

https://49andmarket.com/product/little-dreamer-paper-tiny-treasures/

https://49andmarket.com/product/little-dreamer-paper-over-the-moon/

https://49andmarket.com/product/little-dreamer-chipboard-words/

https://49andmarket.com/product/little-dreamer-6x12-rub-on-transfer-set/

https://49andmarket.com/product/little-dreamer-laser-cut-element-set/

https://49andmarket.com/product/little-celebrations-laser-cut-element-set/
Tuesday, 10 June 2025

All things grow better with love - 49 and Market

Hello, 49 and Market Fans

Today, I'm showing another creation using the One Perfect Day collection. 

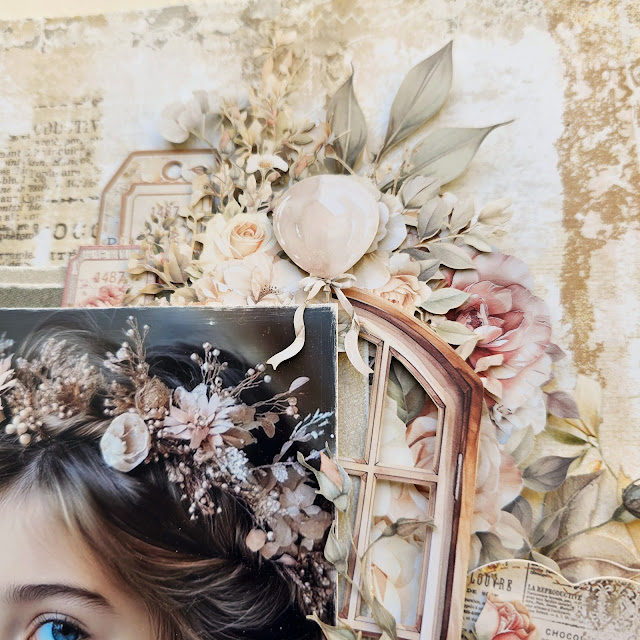
I have used One Perfect Day Tender Moments paper for the base of my layout. I have then cut 4" x 6" pieces from Solid paper 2 and Solid paper 3, distressed and sanded the edges and layered these behind the photo. I then adhered the base paper with foam tape. Cutting the window frame from the Laser Cut Element set in half, each half was added on either side of the photo.
I then added layers of Laser Cut Wildflowers using tweezers to get these under the window frames and using foam tape to create dimension.
From the Die Cut Elements, I then added various tags between the matting, at the top and below the photo. I have also added Die Cut Elements among the flower laser cut elements.
The title "All things grow better with love" is a chipboard word. I have finished off adding some bits of rubons transfers.

Thanks for visiting the blog today.

Hugs,
Michelle


https://49andmarket.com/product/one-perfect-day-paper-tender-moments/
https://49andmarket.com/product/one-perfect-day-solid-paper-2/
https://49andmarket.com/product/one-perfect-day-solid-paper-3/
https://49andmarket.com/product/one-perfect-day-laser-cut-element-set/
https://49andmarket.com/product/one-perfect-day-laser-cut-wildflowers/
https://49andmarket.com/product/one-perfect-day-die-cut-elements/
https://49andmarket.com/product/one-perfect-day-chipboard-words/
https://49andmarket.com/product/one-perfect-day-6x12-rub-on-transfer-set/